This year I have been really into cross stitch so I wanted to use that technique to make some ornaments for my tree.

I started out by cutting my cross stitch fabric down to 3 inch squares and then using my sewing machine to do an overlock stitch around the edge. If your machine can't do an overlock stitch, do a zigzag. I do my cross stitch in the hand. If you need to use a hoop or frame, you may want to do your cross stitch first and then cut down your fabric.
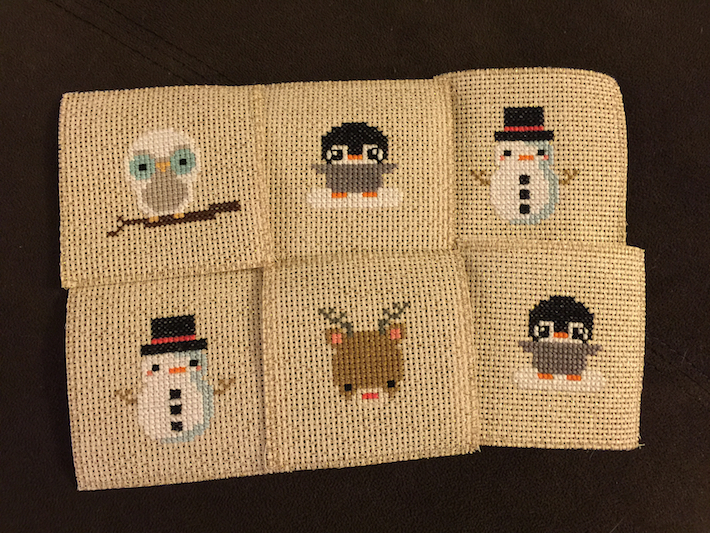
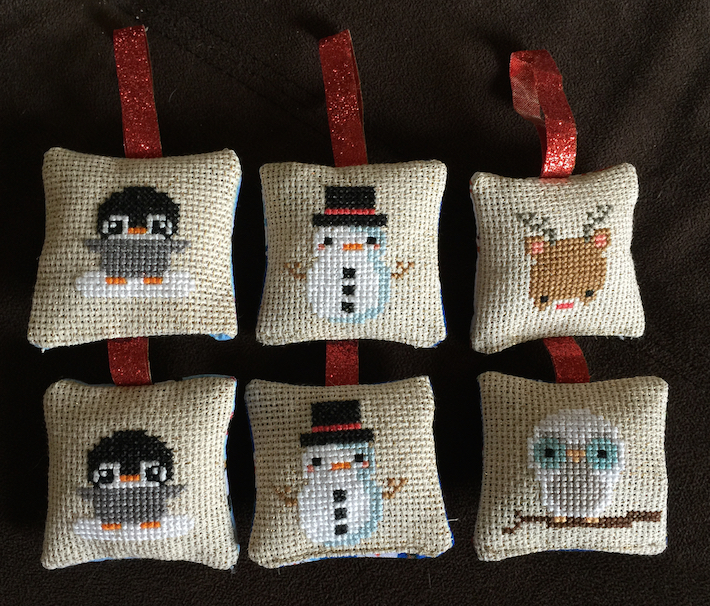
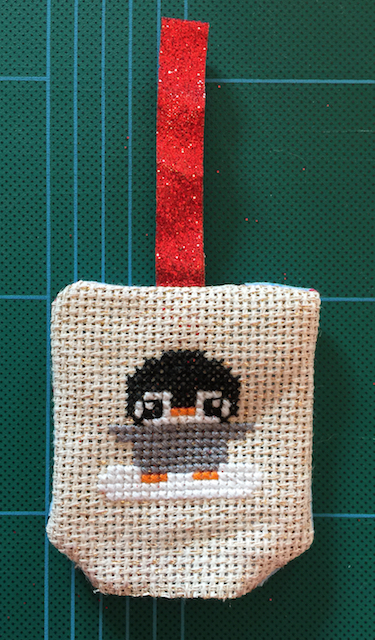
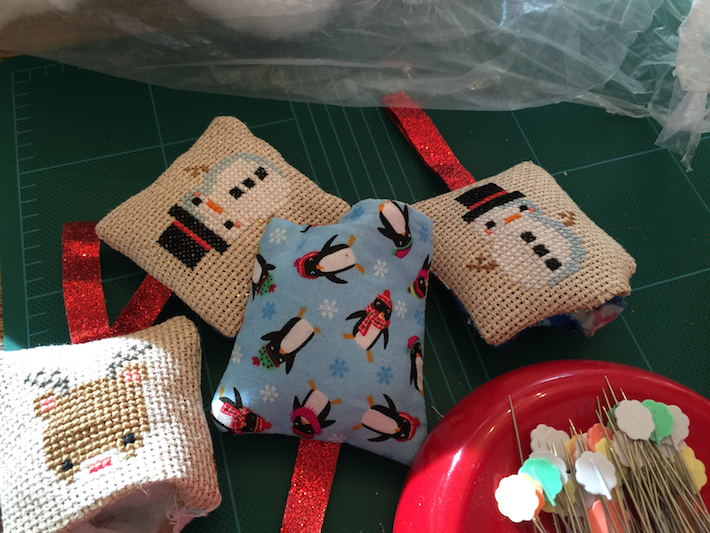
I selected some characters from The Frosted Pumpkin Stitchery's Kawaii Winter Sampler (which is now discontinued but they have other Christmas-y patterns here) and stitched them up in the center of each square. I used 3 strands of white to make those parts extra rich.

Earlier this year, I purchased a fat quarter bundle of cute little Christmas character fabric so I selected my characters so they'd match up. Snowmen with snowmen, owls with owls, penguins with penguins, and reindeer with reindeer.
I cut out a 3 inch square of coordinating fabric to go with each cross stitch square.

Then I cut down some red glitter ribbon to 6 inch lengths and folded those in half. I layered my pieces cotton fabric facing up, folded ribbon with the glitter side facing out, and cross stitch character face down.
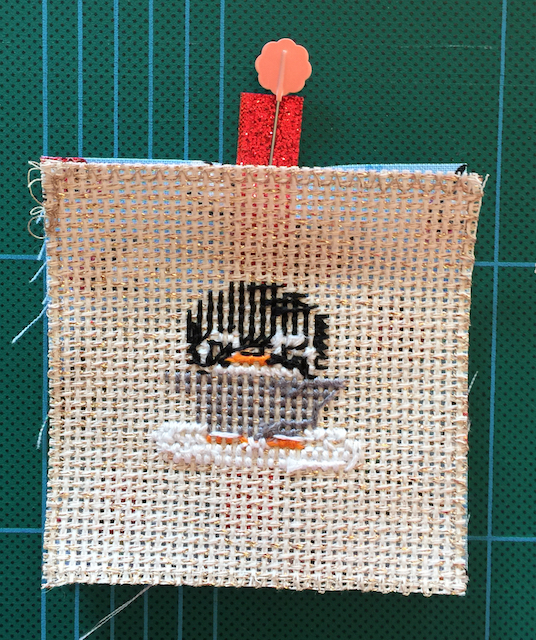
Here's my little sandwich with the ribbon pinned in place.
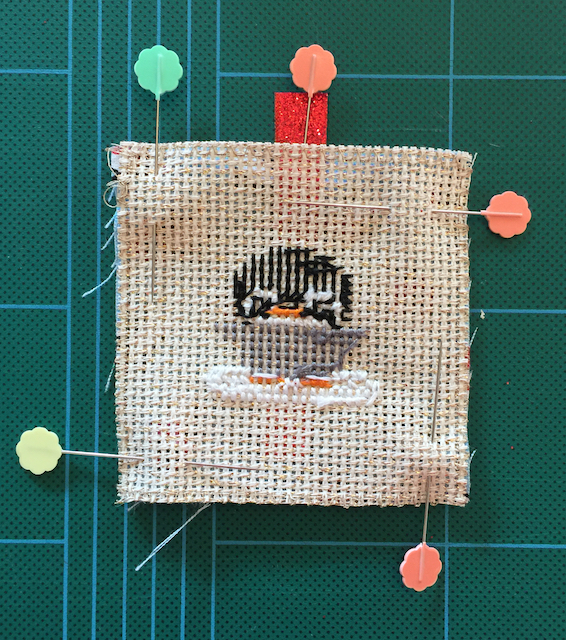
Then I pinned all around.

Sandwiches ready to sew up.

I sewed around the edge about 1/4 inch in. I started about half an inch from the bottom left corner and then went up the left side, across the top, down the right side, and stopped about half an inch in to the bottom right.
Turn your ornament right side out. The cross stitch fabric is quite stiff so I found it easiest to push the cotton through first and let the rest follow.

Push out the corners with something pointy but not so pointy it'll poke through the fabric. I used my Clover Finger Presser.

Front and back of the snowmen turned out.
I stuffed my ornaments with a bit of ancient polyfill from my mom.

Then I sewed the bottoms shut. I did the penguins by hand but then I decided that I'm not all that great at sewing by hand so I did the rest by machine.
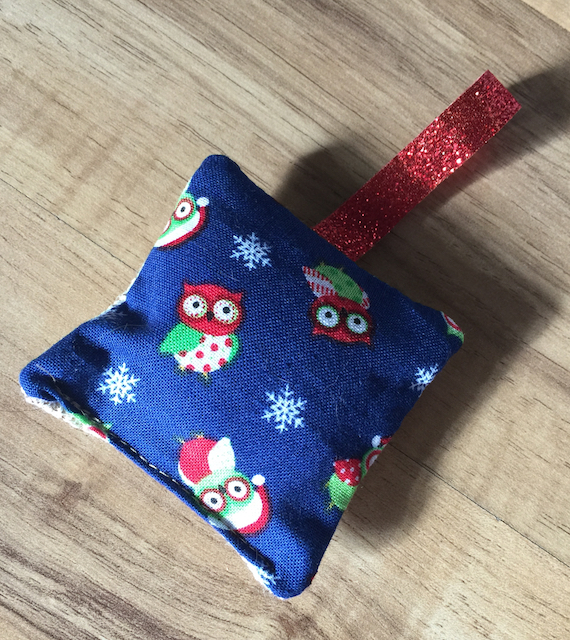
Here's the back of the owl done by machine.
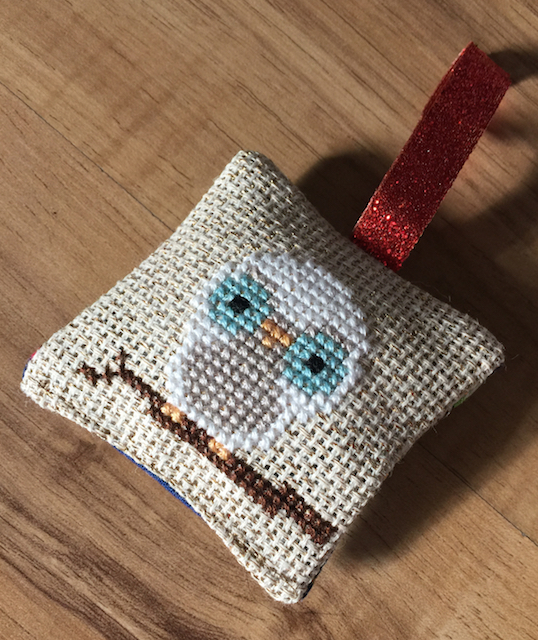
Here's the front of the owl done by machine. I used an oatmeal colored thread that's basically invisible on the cross stitch fabric I selected.
Supplies: DMC Stardust Aida cross stitch fabric, DMC embroidery floss in assorted colors, Timeless Treasures mini series cotton fabrics, red glitter ribbon from Michael's, Aurifil thread in #2325 "Linen", sewing machine, embroidery needle, polyfill, pins