

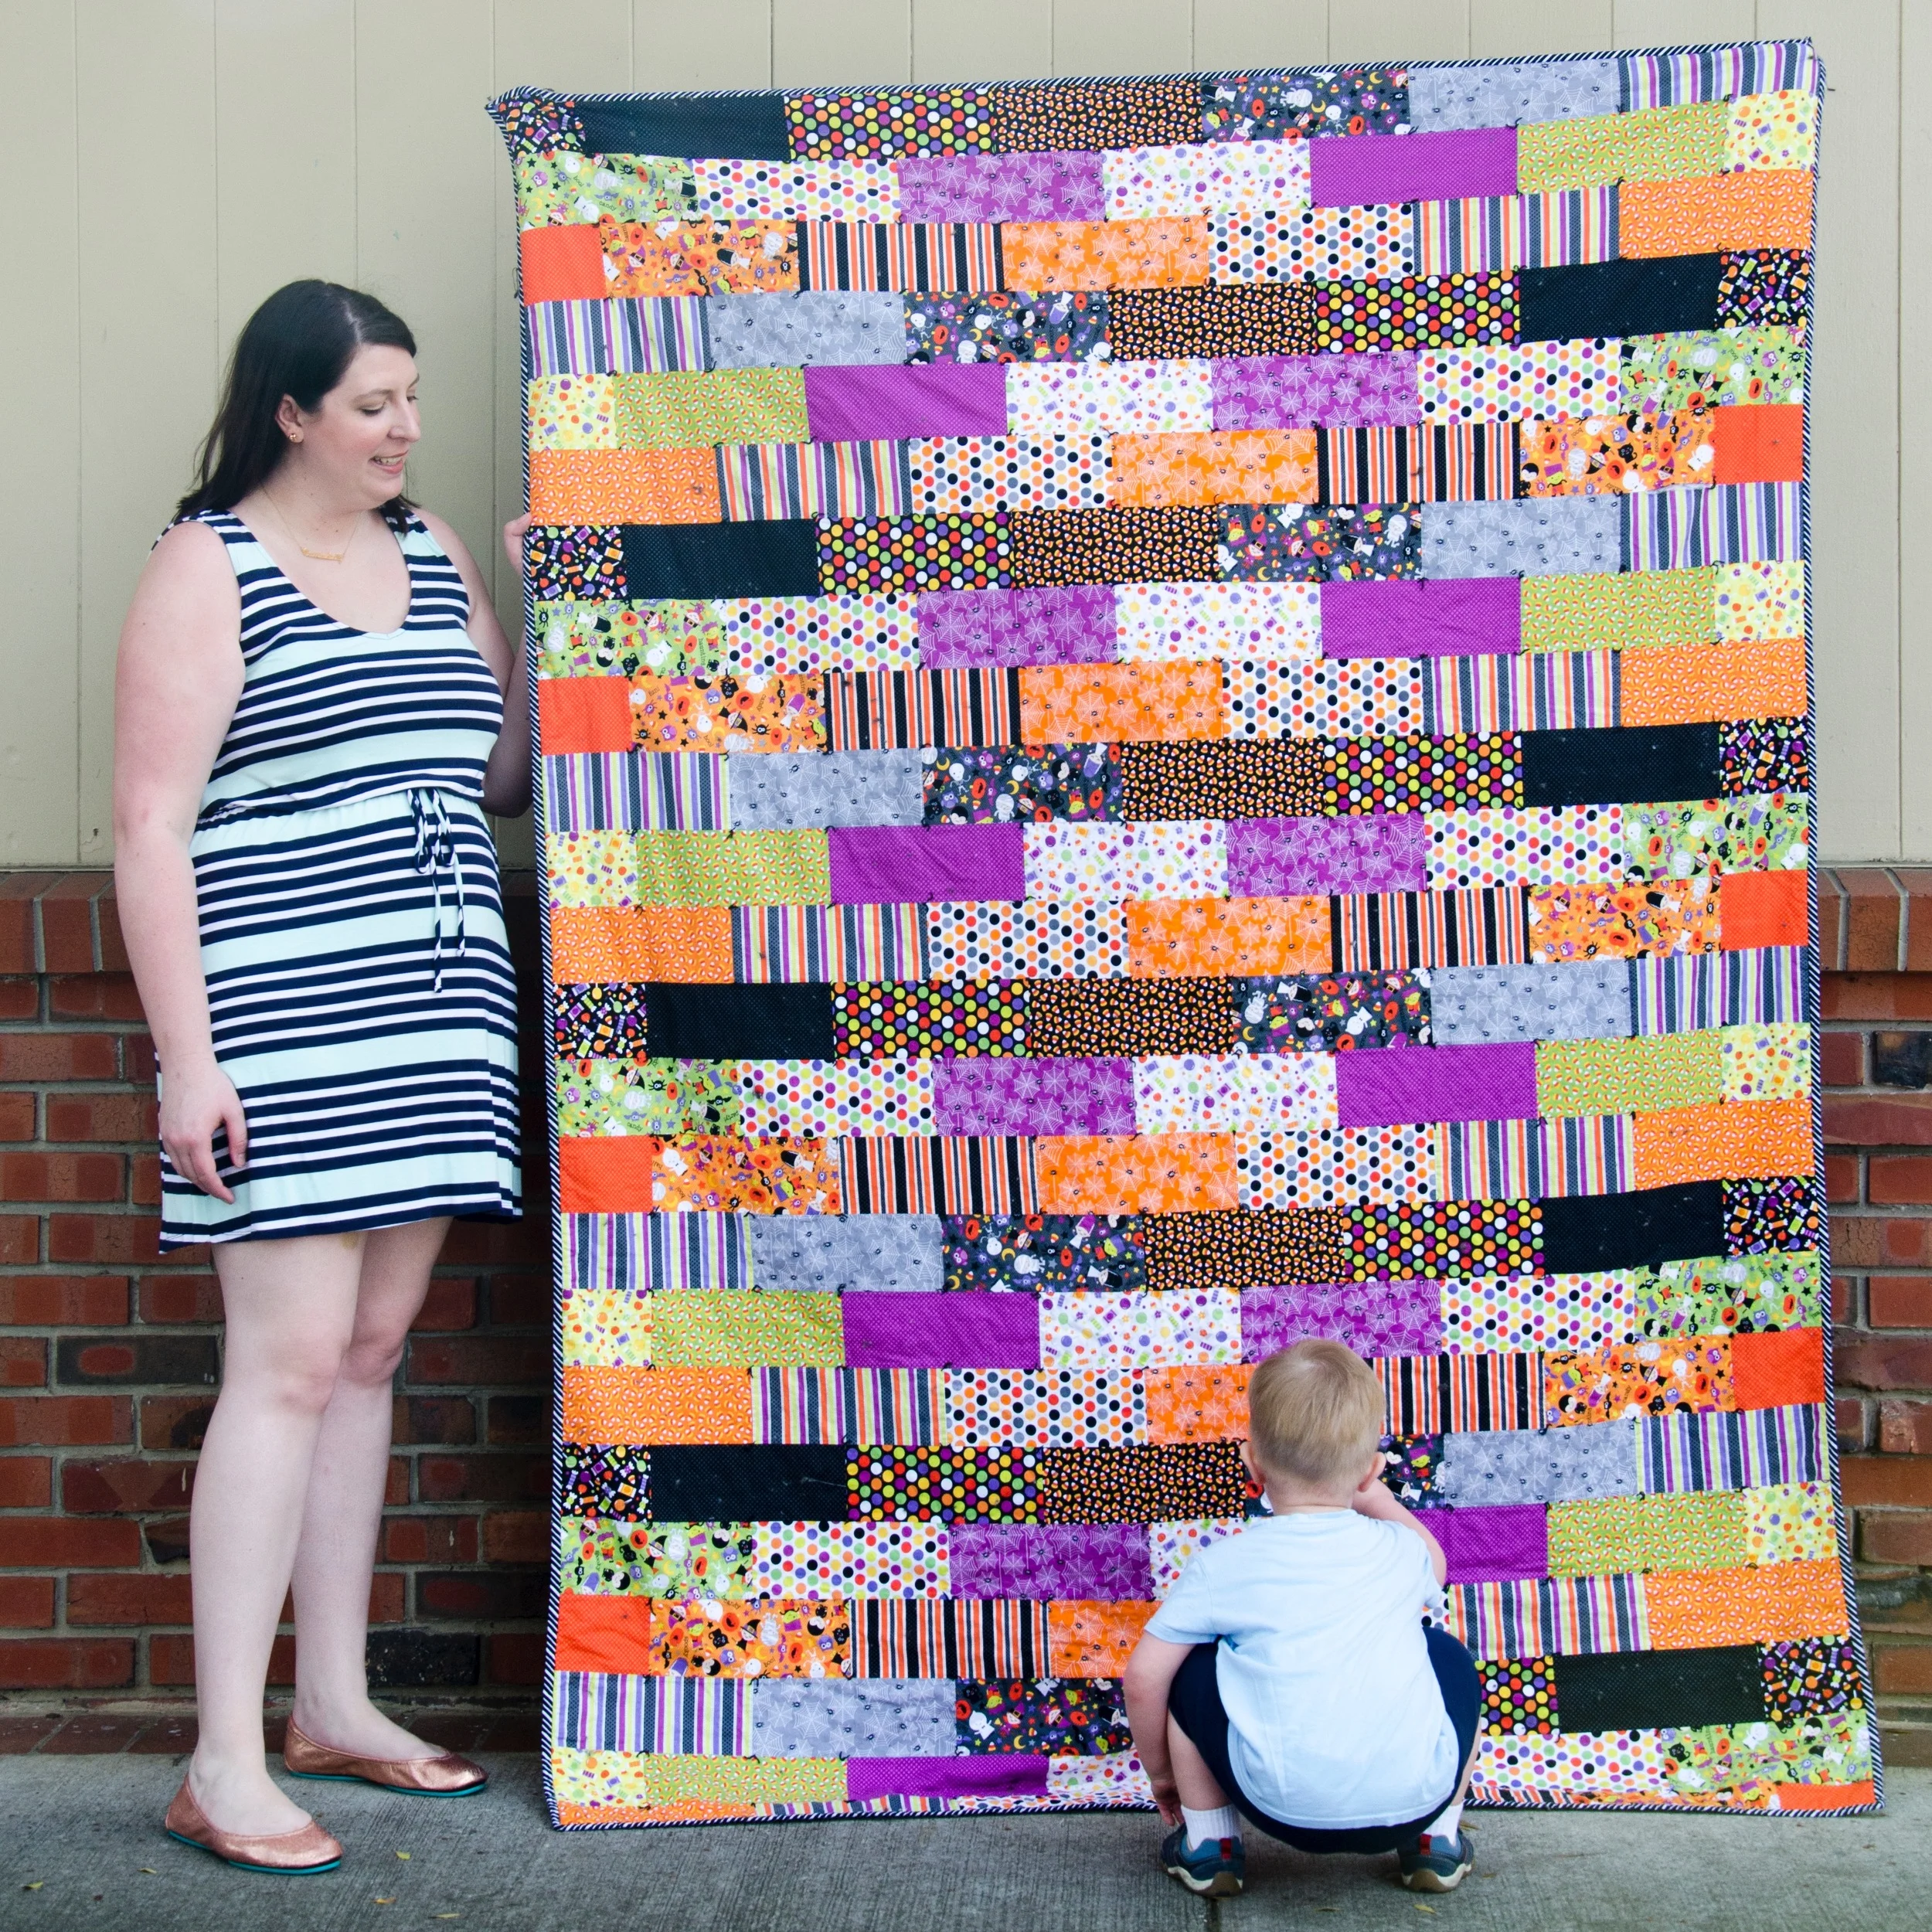
A little over a year later, I'm almost done with my Halloween quilt. Let me walk you through exactly how I designed the quilt then and what I'd do differently now.
The Design Process Then
For this quilt, all I knew was I wanted to make something cute and Halloween themed.
So obviously, I picked out my fabric first.
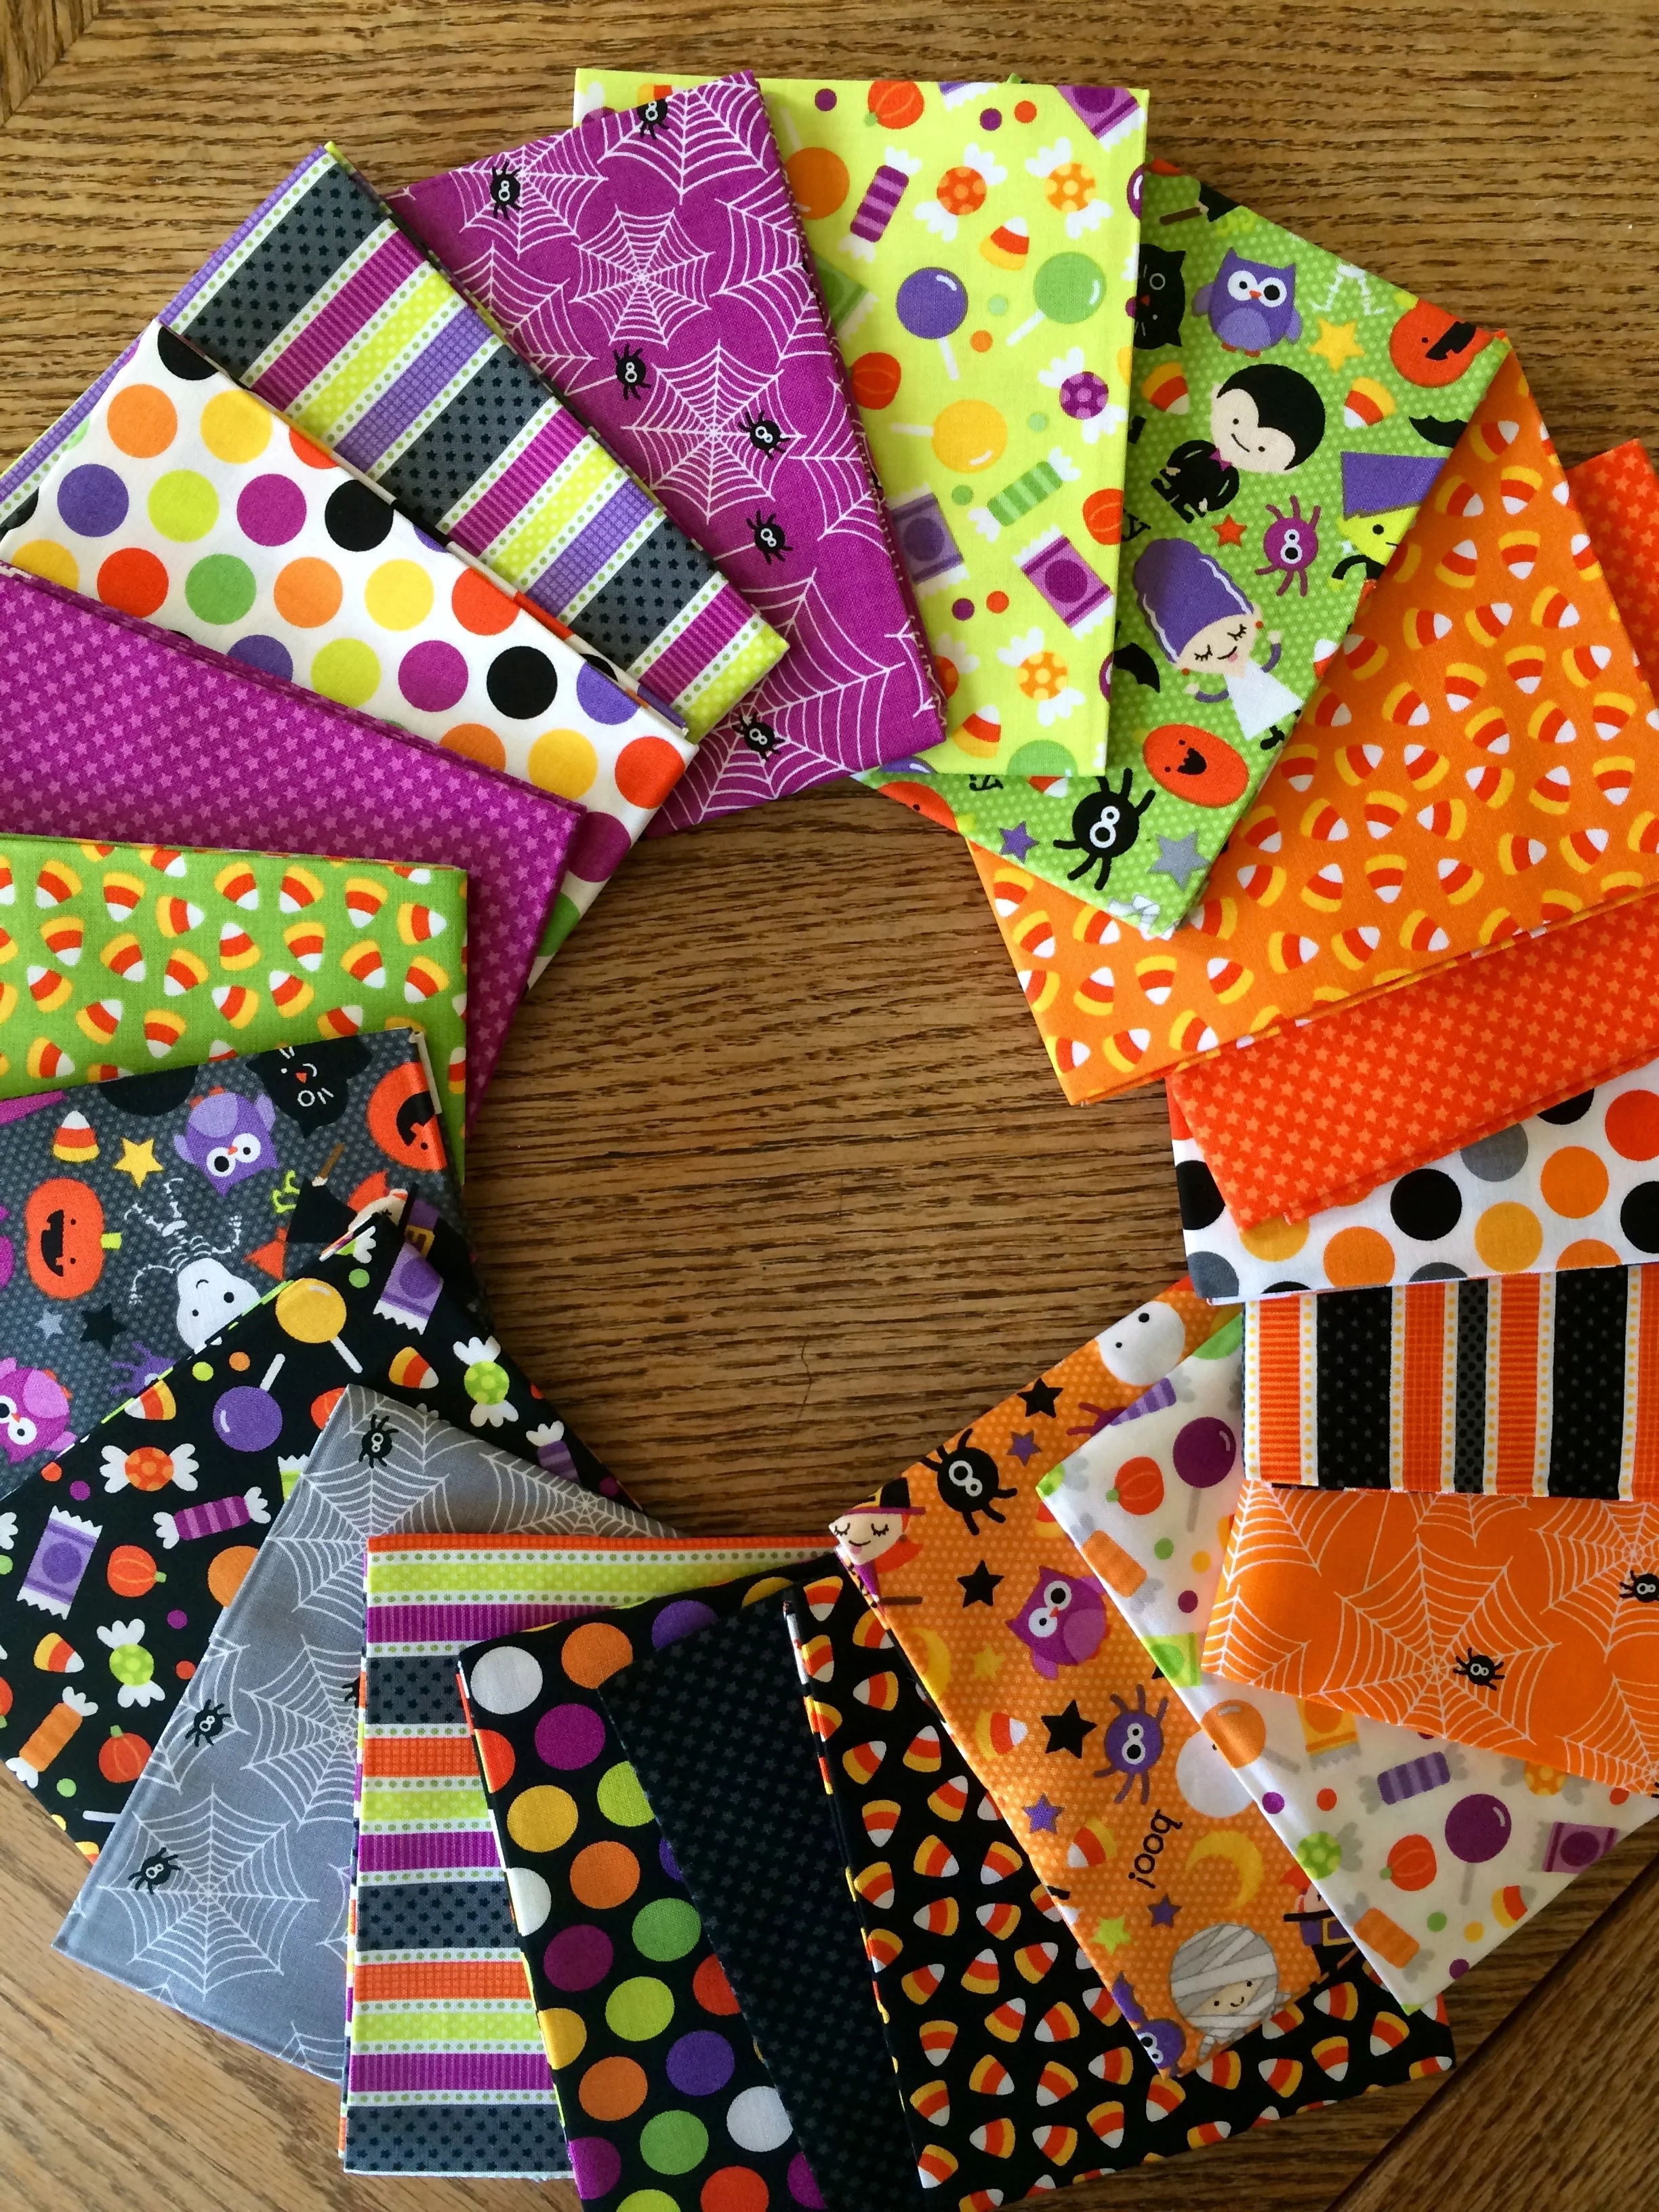
The fabric I bought was a fat quarter bundle called Halloween Town by Doodlebug Designs for Riley Blake. This exact bundle is no longer available but you can find some very similar options here.
Next, I grabbed a pen and a big Post-it Note and started designing my quilt. (When I first looked back on this a year later it was total gibberish. Took some serious brain power to remember what these numbers meant. And that is why I created my Quilty Math Workbook.)
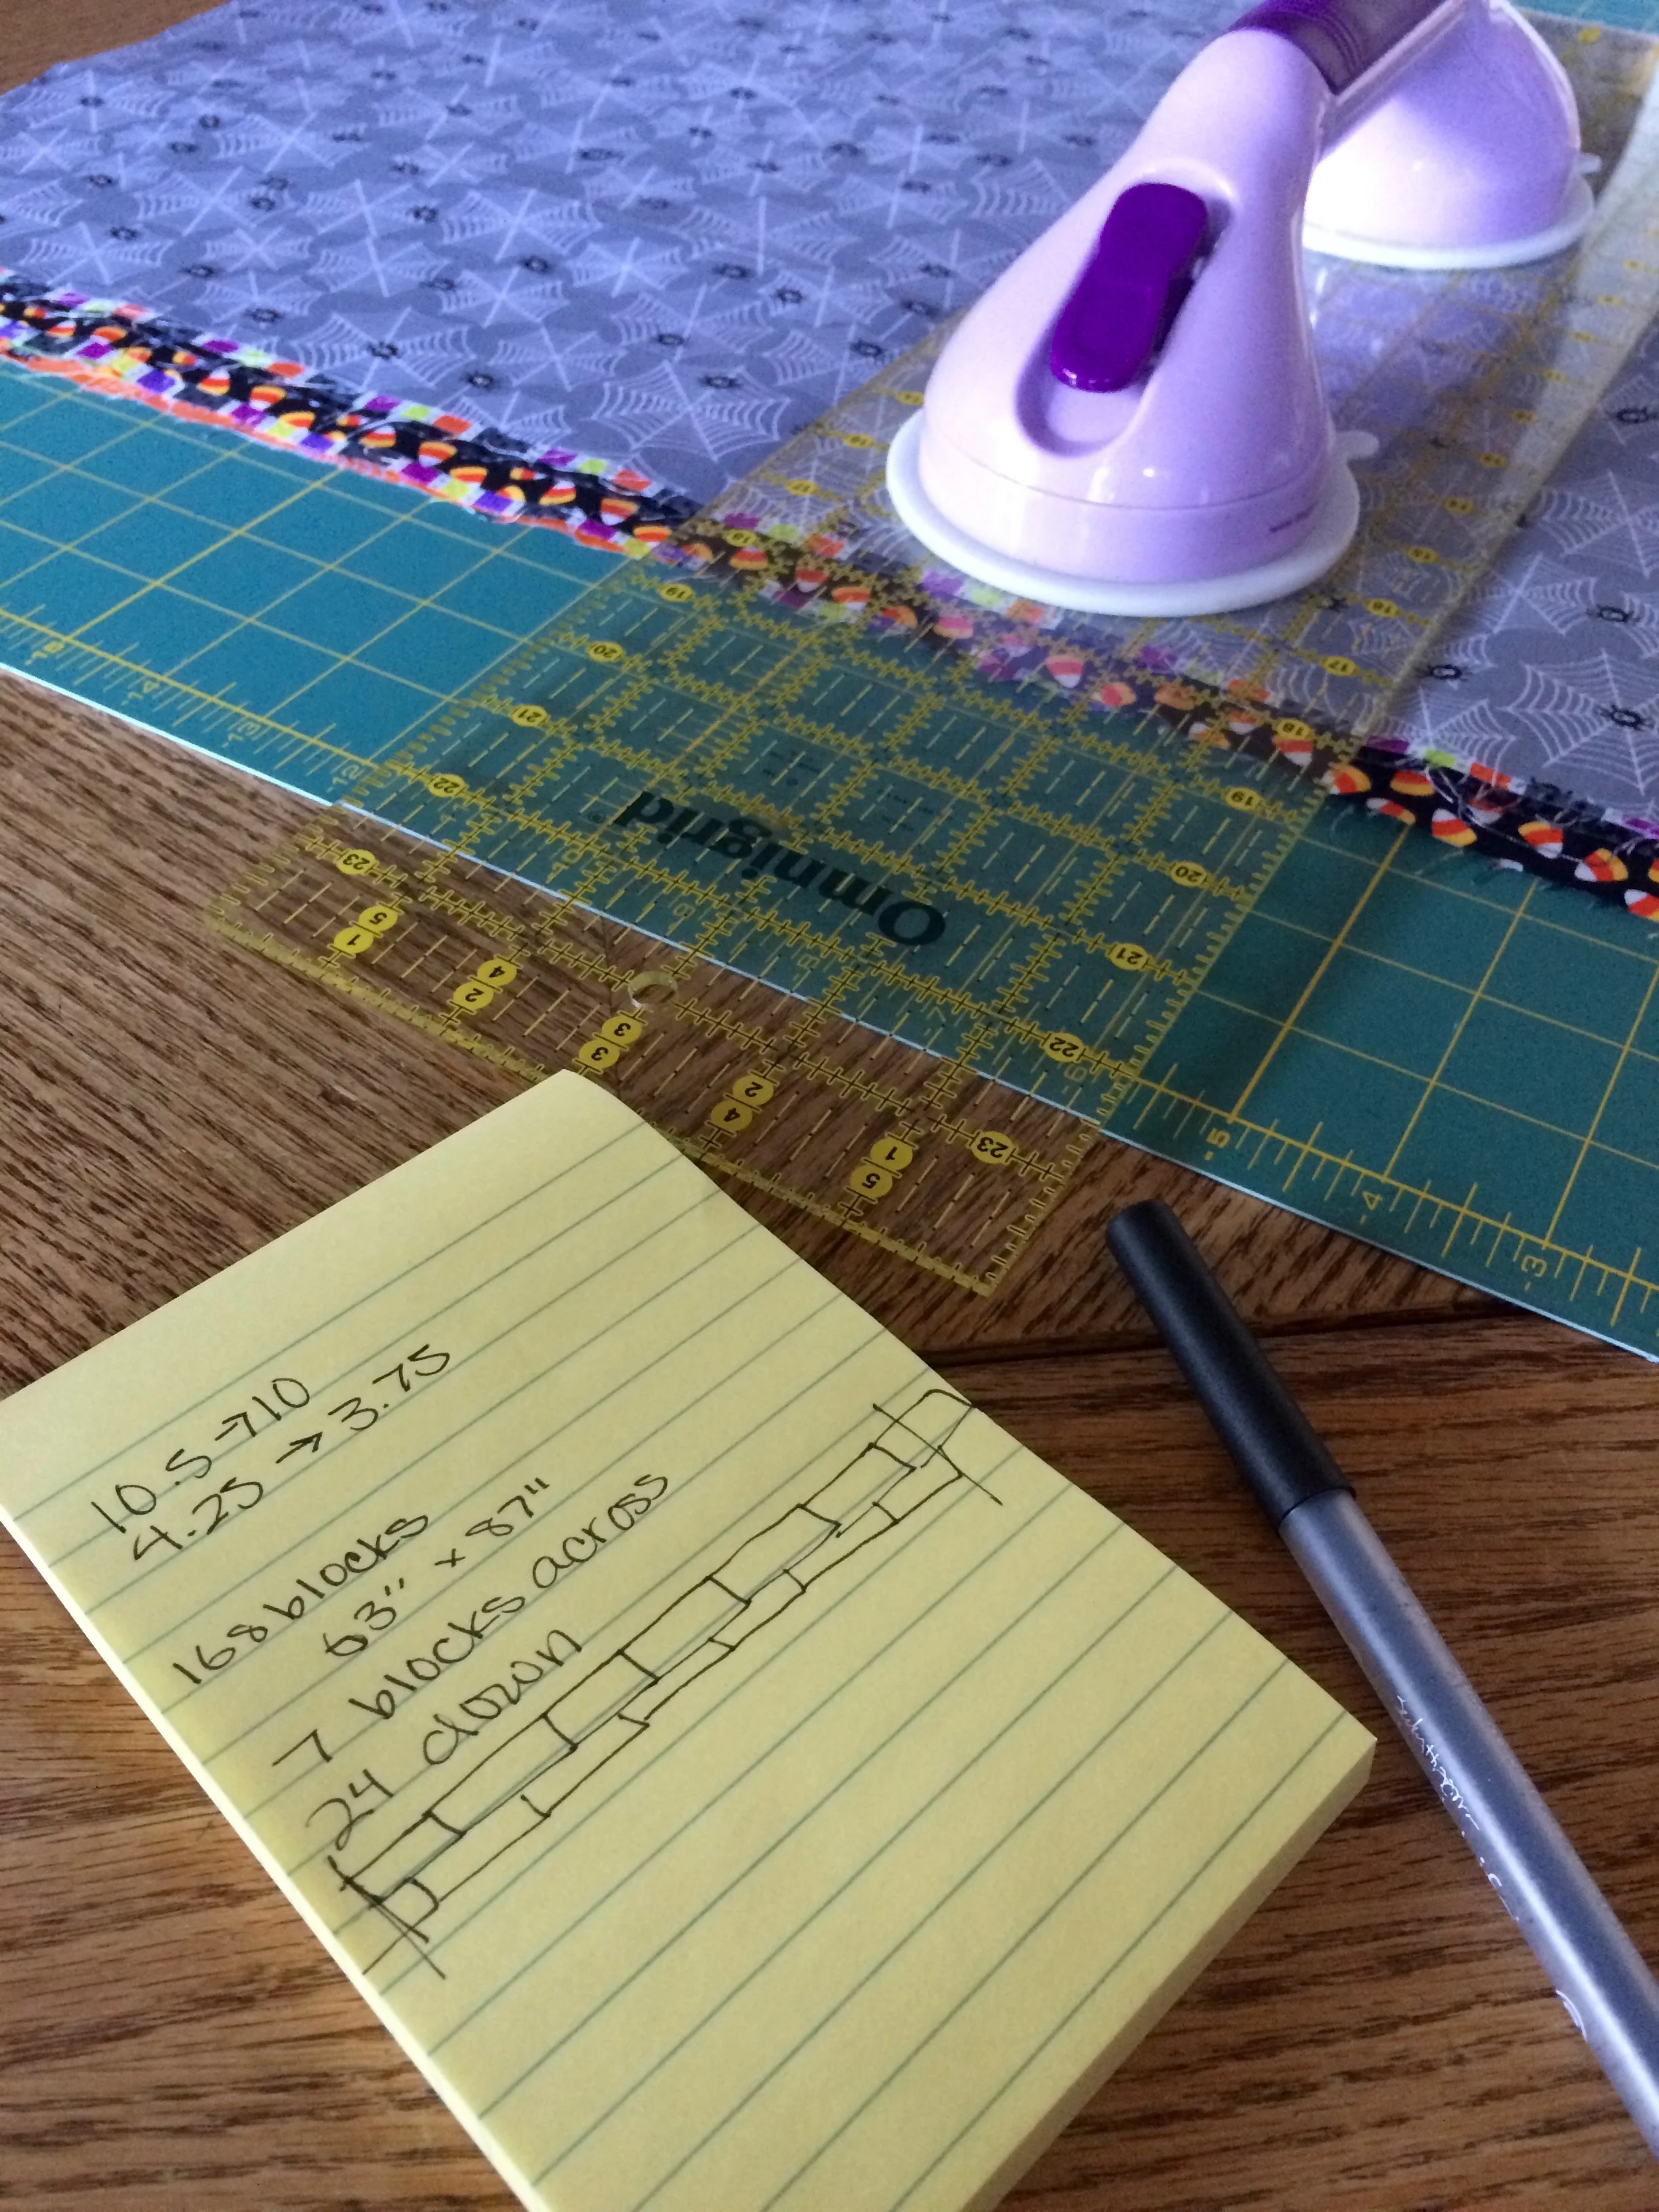
The goal was to use my fat quarter bundle to create the biggest quilt possible because I didn't want to have a lot of waste left over. In retrospect, that plan made problems down the line. My Quilty Math Workbook has reminders throughout to prevent those problems on future quilts.

A fat quarter measures about 22 inches wide by 18 inches tall. There's probably some selvedge on one of the 18 inch edges. How wide that selvedge is varies by manufacturer.
I figured my usable fabric on each fat quarter for this bundle was 21 x 17. That was a little too close, in the future I want to allow 2 inches to spare in each direction at a minimum.
I cut 8 bricks from each fat quarter.
21 / 2 = 10.5
17 / 4 = 4.25
Half an inch in each direction on each brick was allotted for seam allowance. 1/4 on each edge adds up to a 1/2 inch on the total width and total height of each brick.
Each finished brick measures 10 x 3.75.
If I can cut 8 bricks from each of 21 fat quarters, I have 8 * 21 = 168 bricks to work with.
I arranged my bricks 7 across by 24 down. I offset the bricks so I didn't have to match seams when sewing my rows together so I had half a brick hanging off each end, which I later cut off. That meant each row finished at 6.5 bricks wide.
To figure out how big my finished quilt would be, I did a little math:
6.5 (# of bricks across) x 10 (width of each finished brick) = 65 inches across
24 (# of bricks down) x 3.75 (height of each finished brick) = 90 inches long
A Twin size batting measures 93" x 72" so this seemed perfect at the time. In the future, I want to allow for more extra batting around my quilt top because it took me 3 tried to get my quilt top and batting to line up just right when I was basting.
Assembling the quilt top
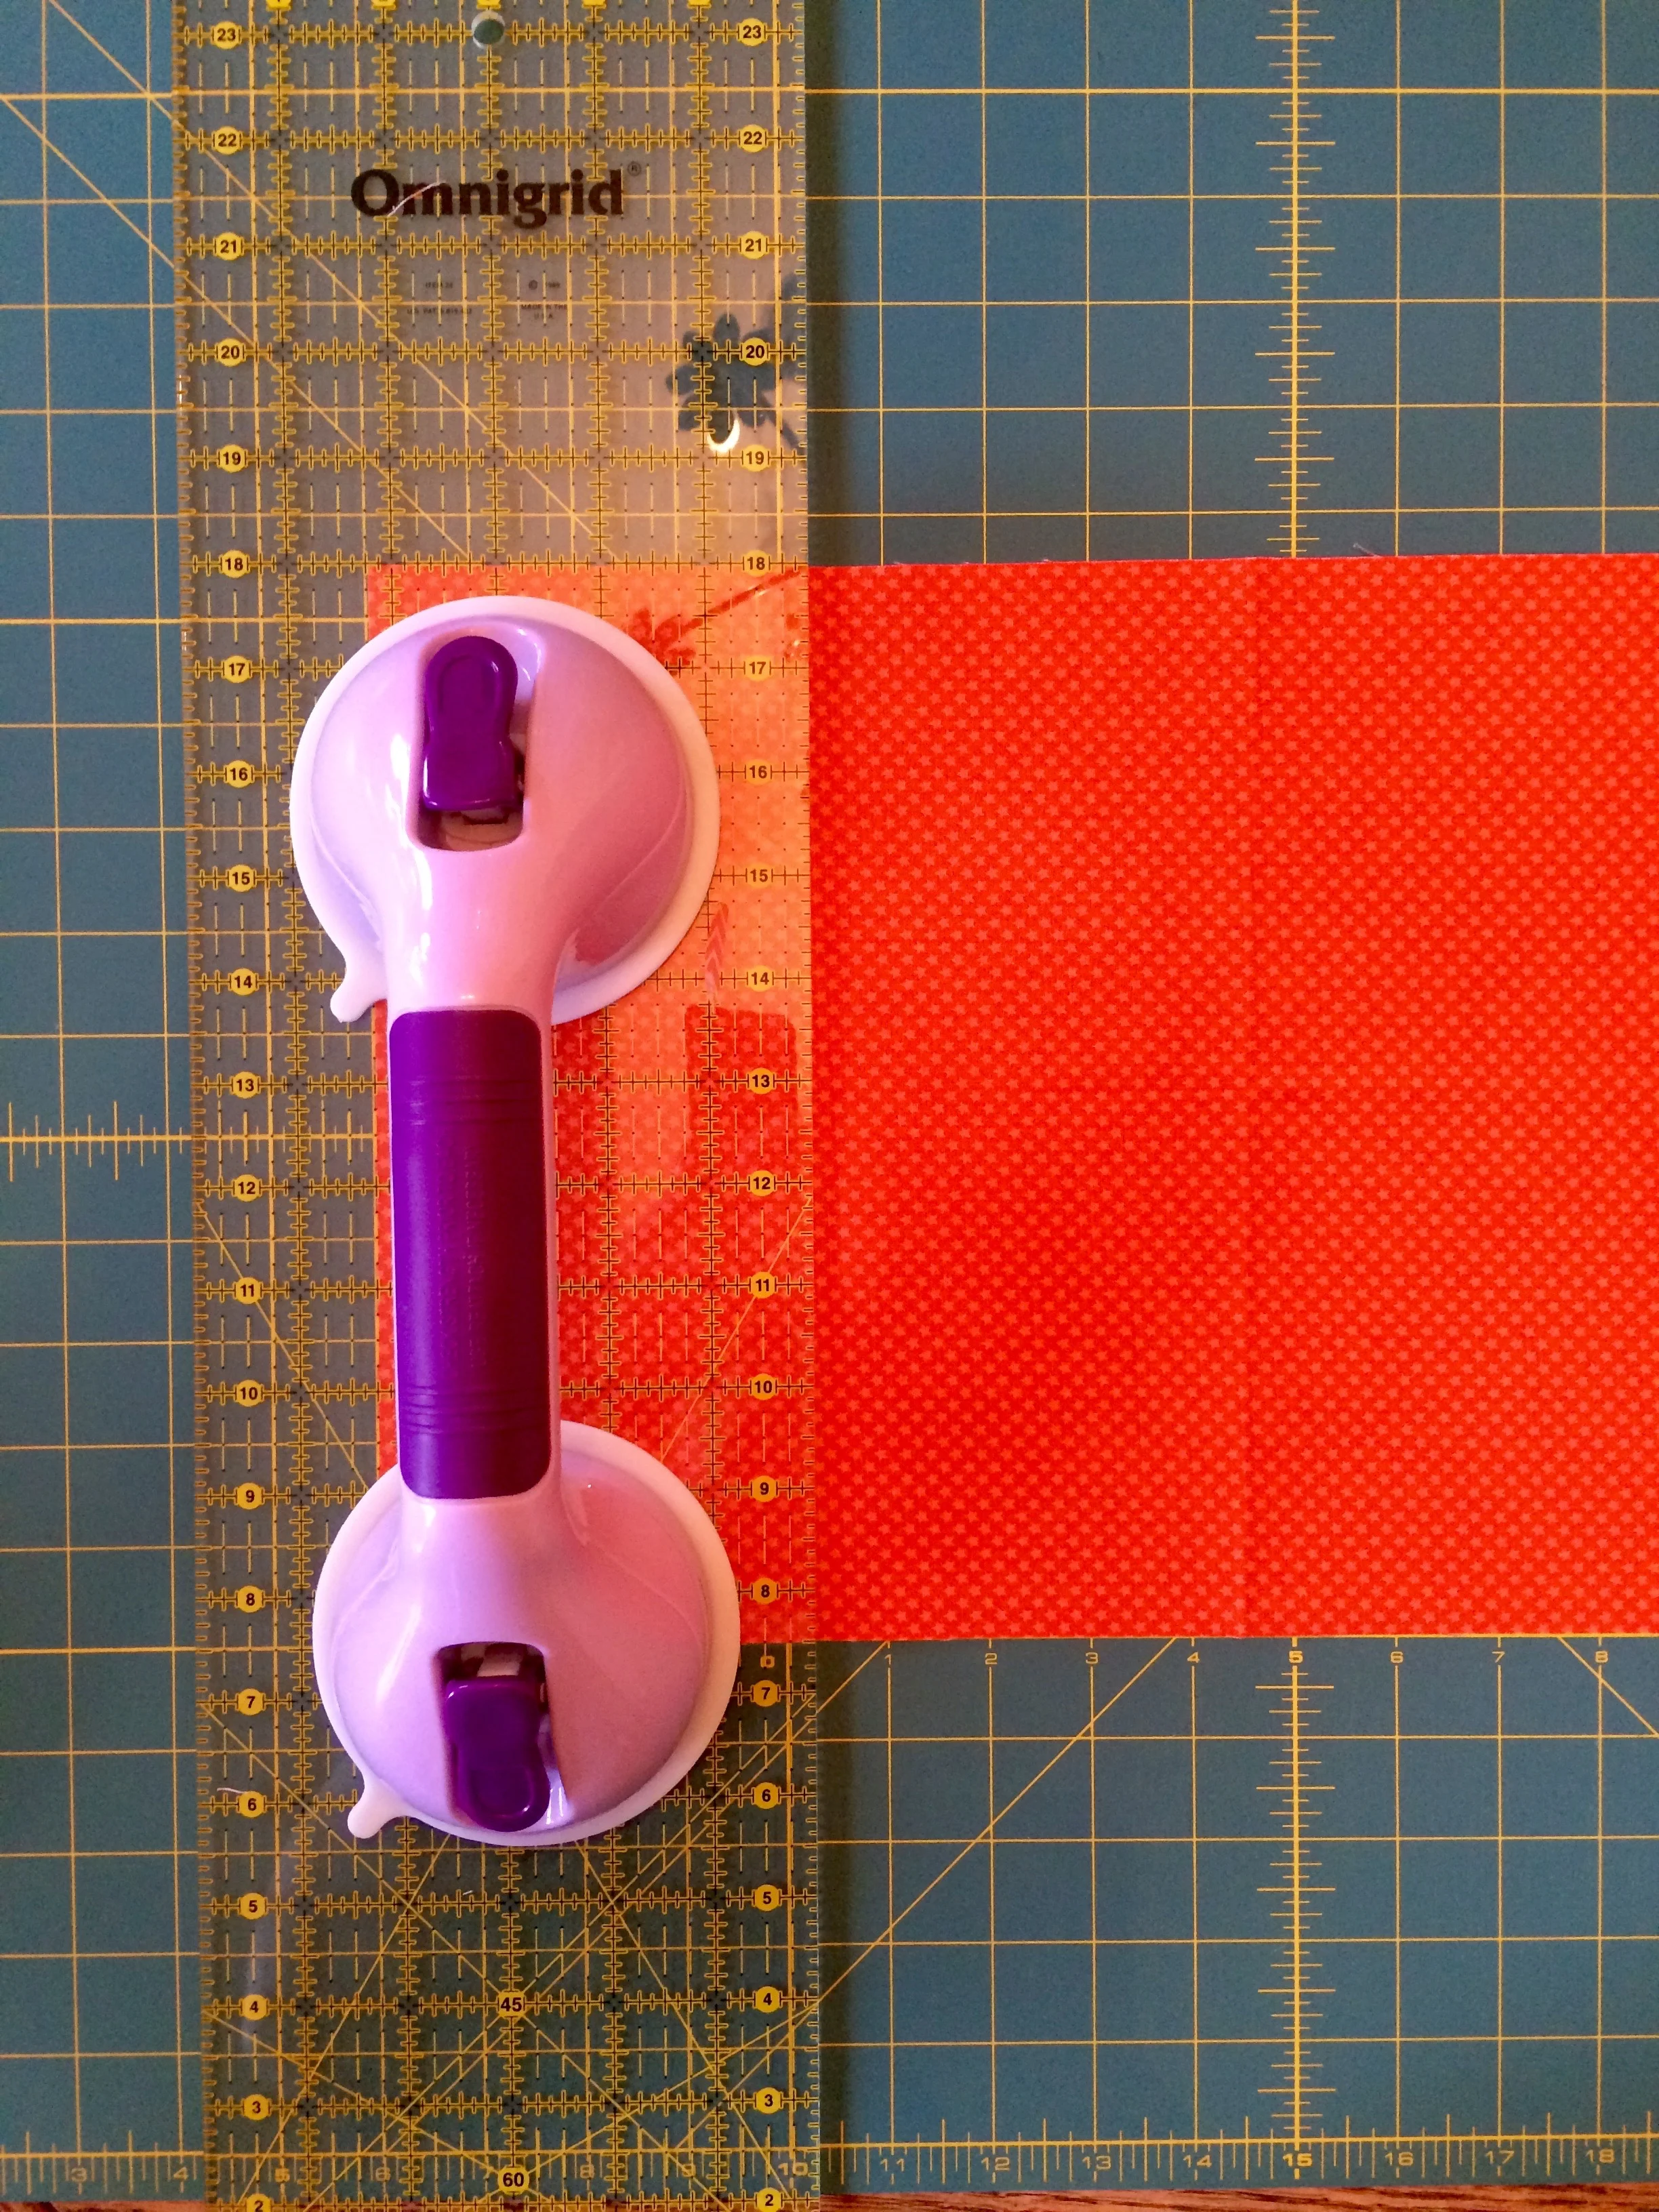
I cut my fat quarters into 10.5 inch wide strips and then I cross cut those strips into 4.25 inch bricks.
People always ask me what that purple thing is. I get really bad carpal tunnel syndrome, especially when I'm cutting a ton of fabric so I use the Gypsy Gripper for a more ergonomic way to hold my ruler in place.

Next, I sewed bricks into rows along their short edges. 7 bricks made a row. I kept an even 1/4 inch seam allowance using a patchwork foot with an attached guide.
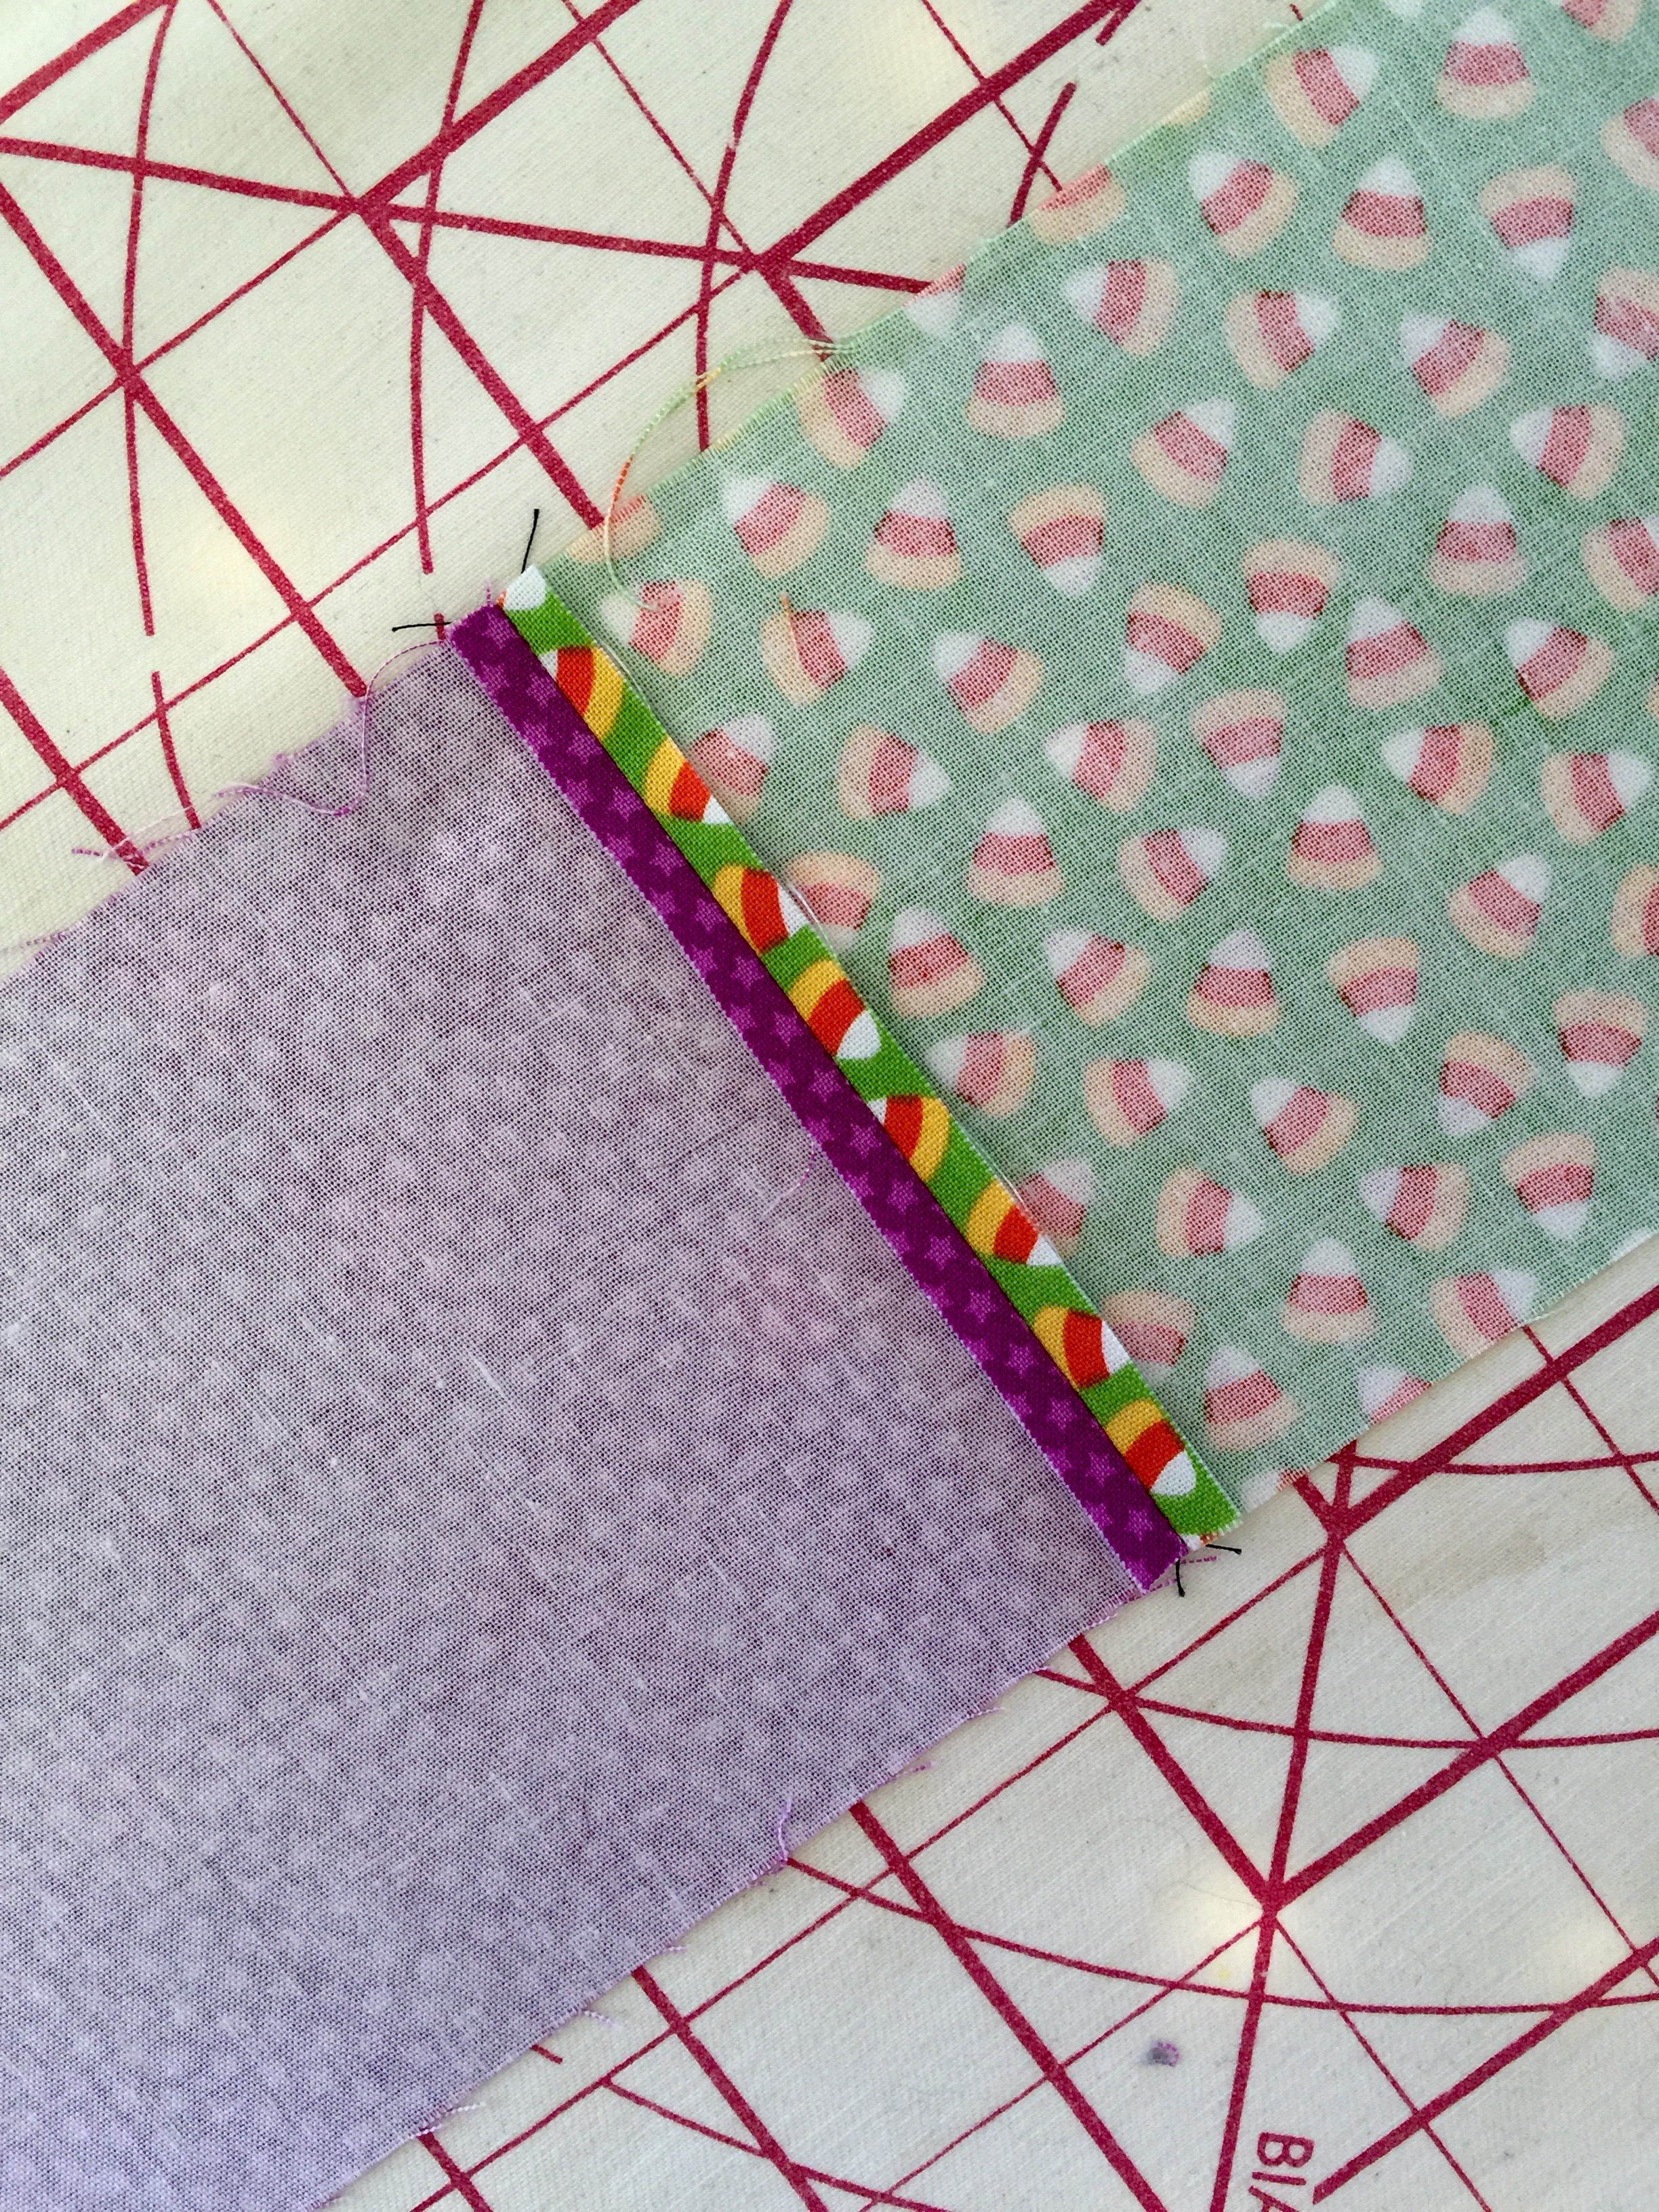
After all my bricks were sewn into rows, I pressed my seams open.

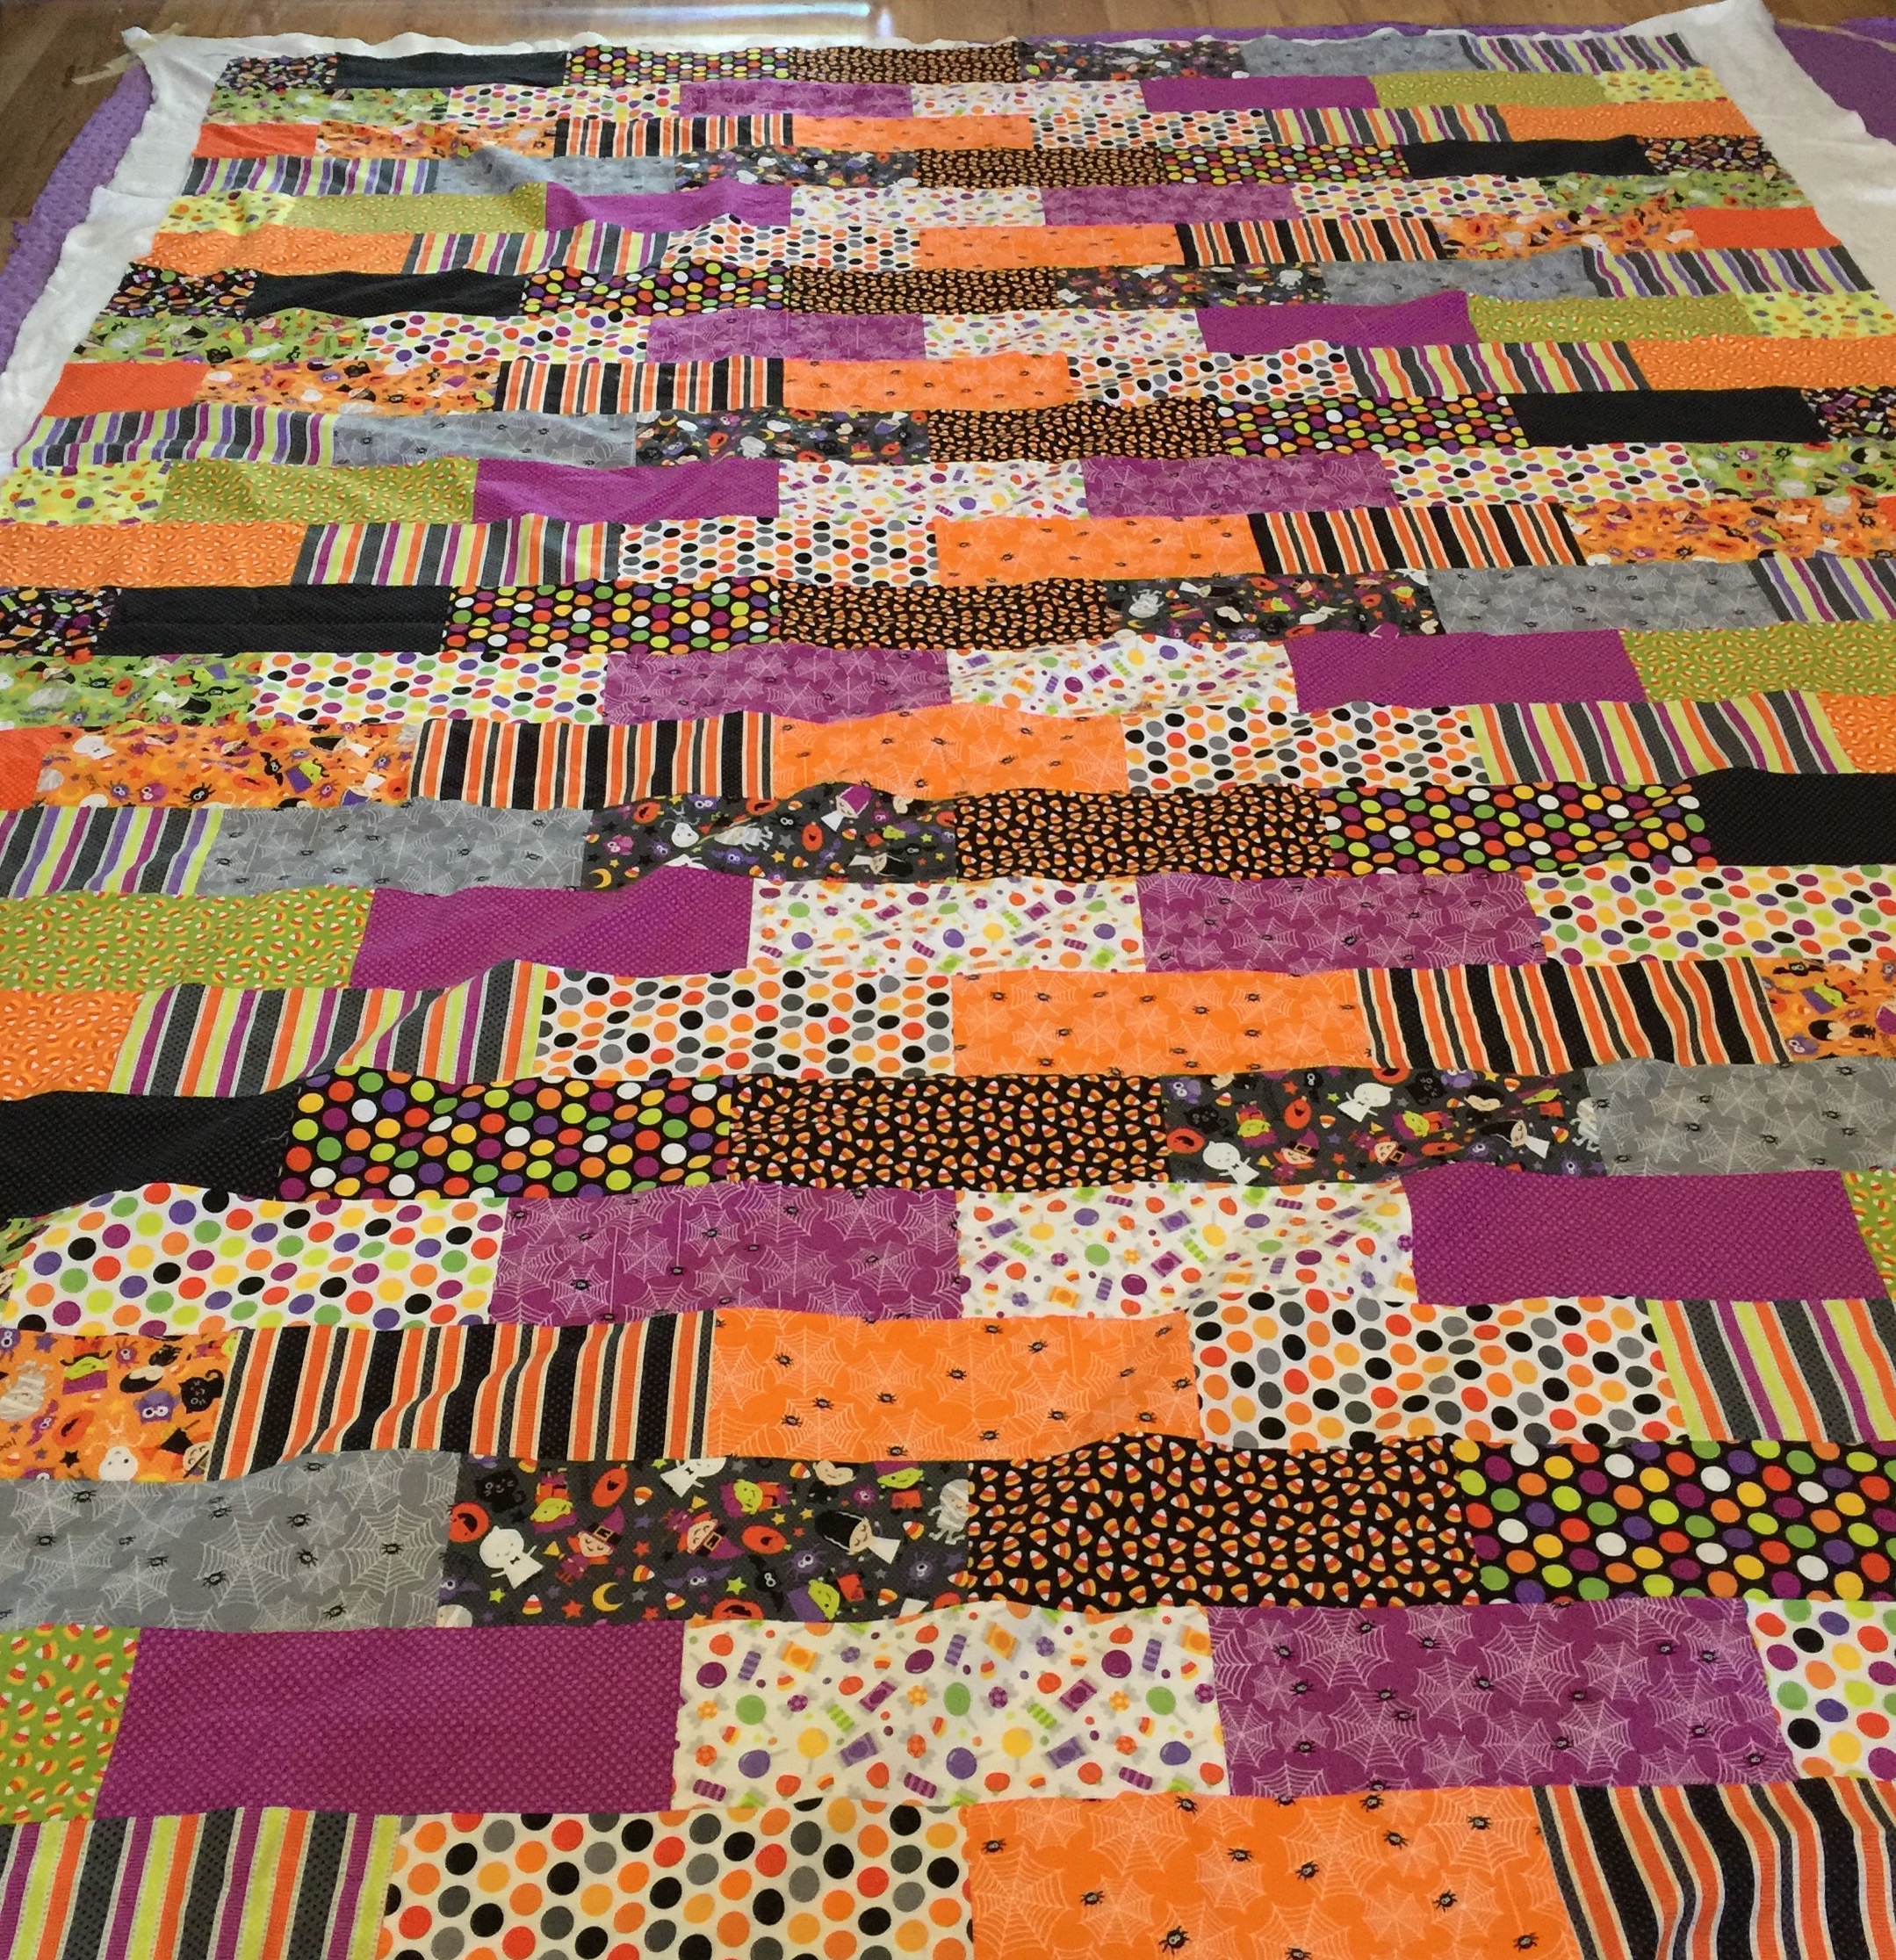
Then I laid a few of my rows out on the floor so I could decide how I wanted to arrange them before I started sewing them together.

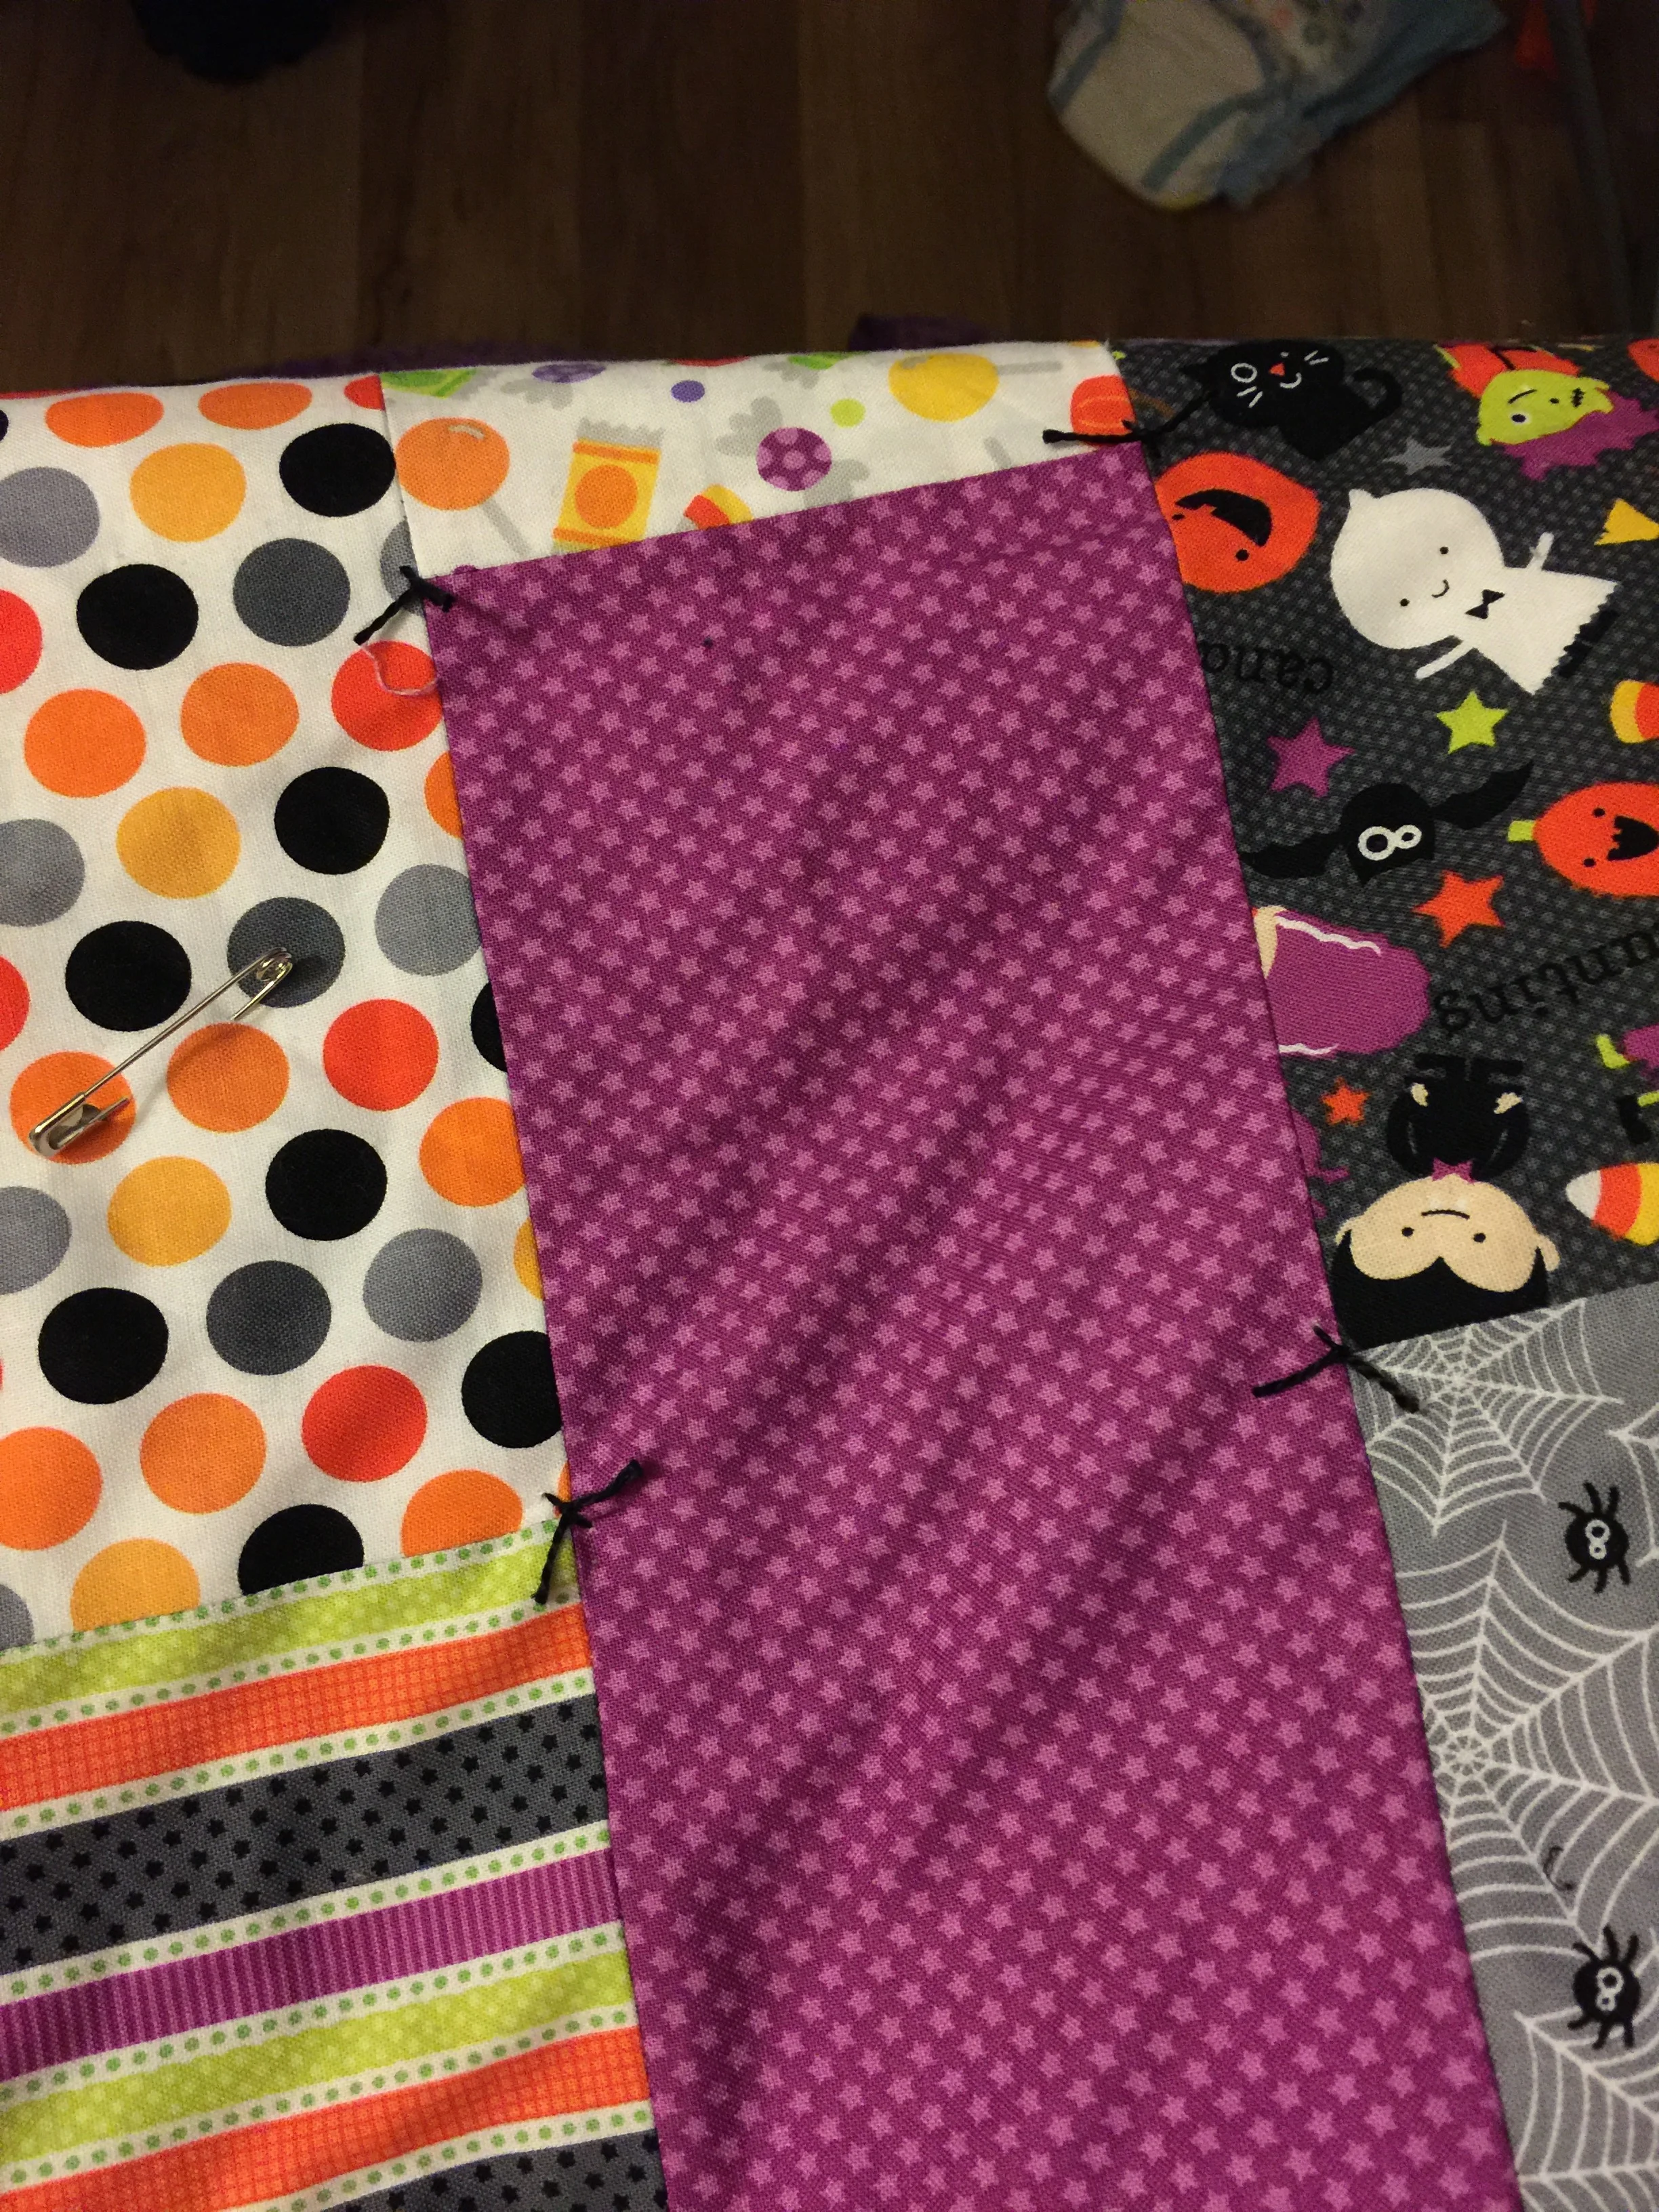
I pinned each new row on before sewing it on.
The beauty of a brick layout is that the seams of the next row go in the middle of the bricks of the last row so you don't have to match all the seams. I just aimed for the approximate middle. I start out pinning at the ends of the row and then do the middle of the row and then keep dividing the unpinned sections into about half until my whole row is pinned.

Sew the rows together. Make sure each row is offset half a brick at the end.

Keep pinning and sewing more rows. After I've pinned my row, I like to do an according type fold to get it into a little bundle that fits on my lap while I'm sitting at the sewing machine.

Repeat, repeat, repeat and eventually you'll have all your rows sewn together into a quilt top.

Press all the seams from sewing the rows together open.

I used a very small cutting mat that I normally use for scrapbooking so I could place it on top of my ironing board while I trimmed off all the excess half blocks at the ends of my rows.
Piecing the backing
I got some 60" wide Minky fabric to use for the backing. I needed to cut my Minky yardage it into two pieces and piece those together so the backing would be big enough. Simple enough.
Except the worst kind of user error happened. I sewed a right side to a wrong side.
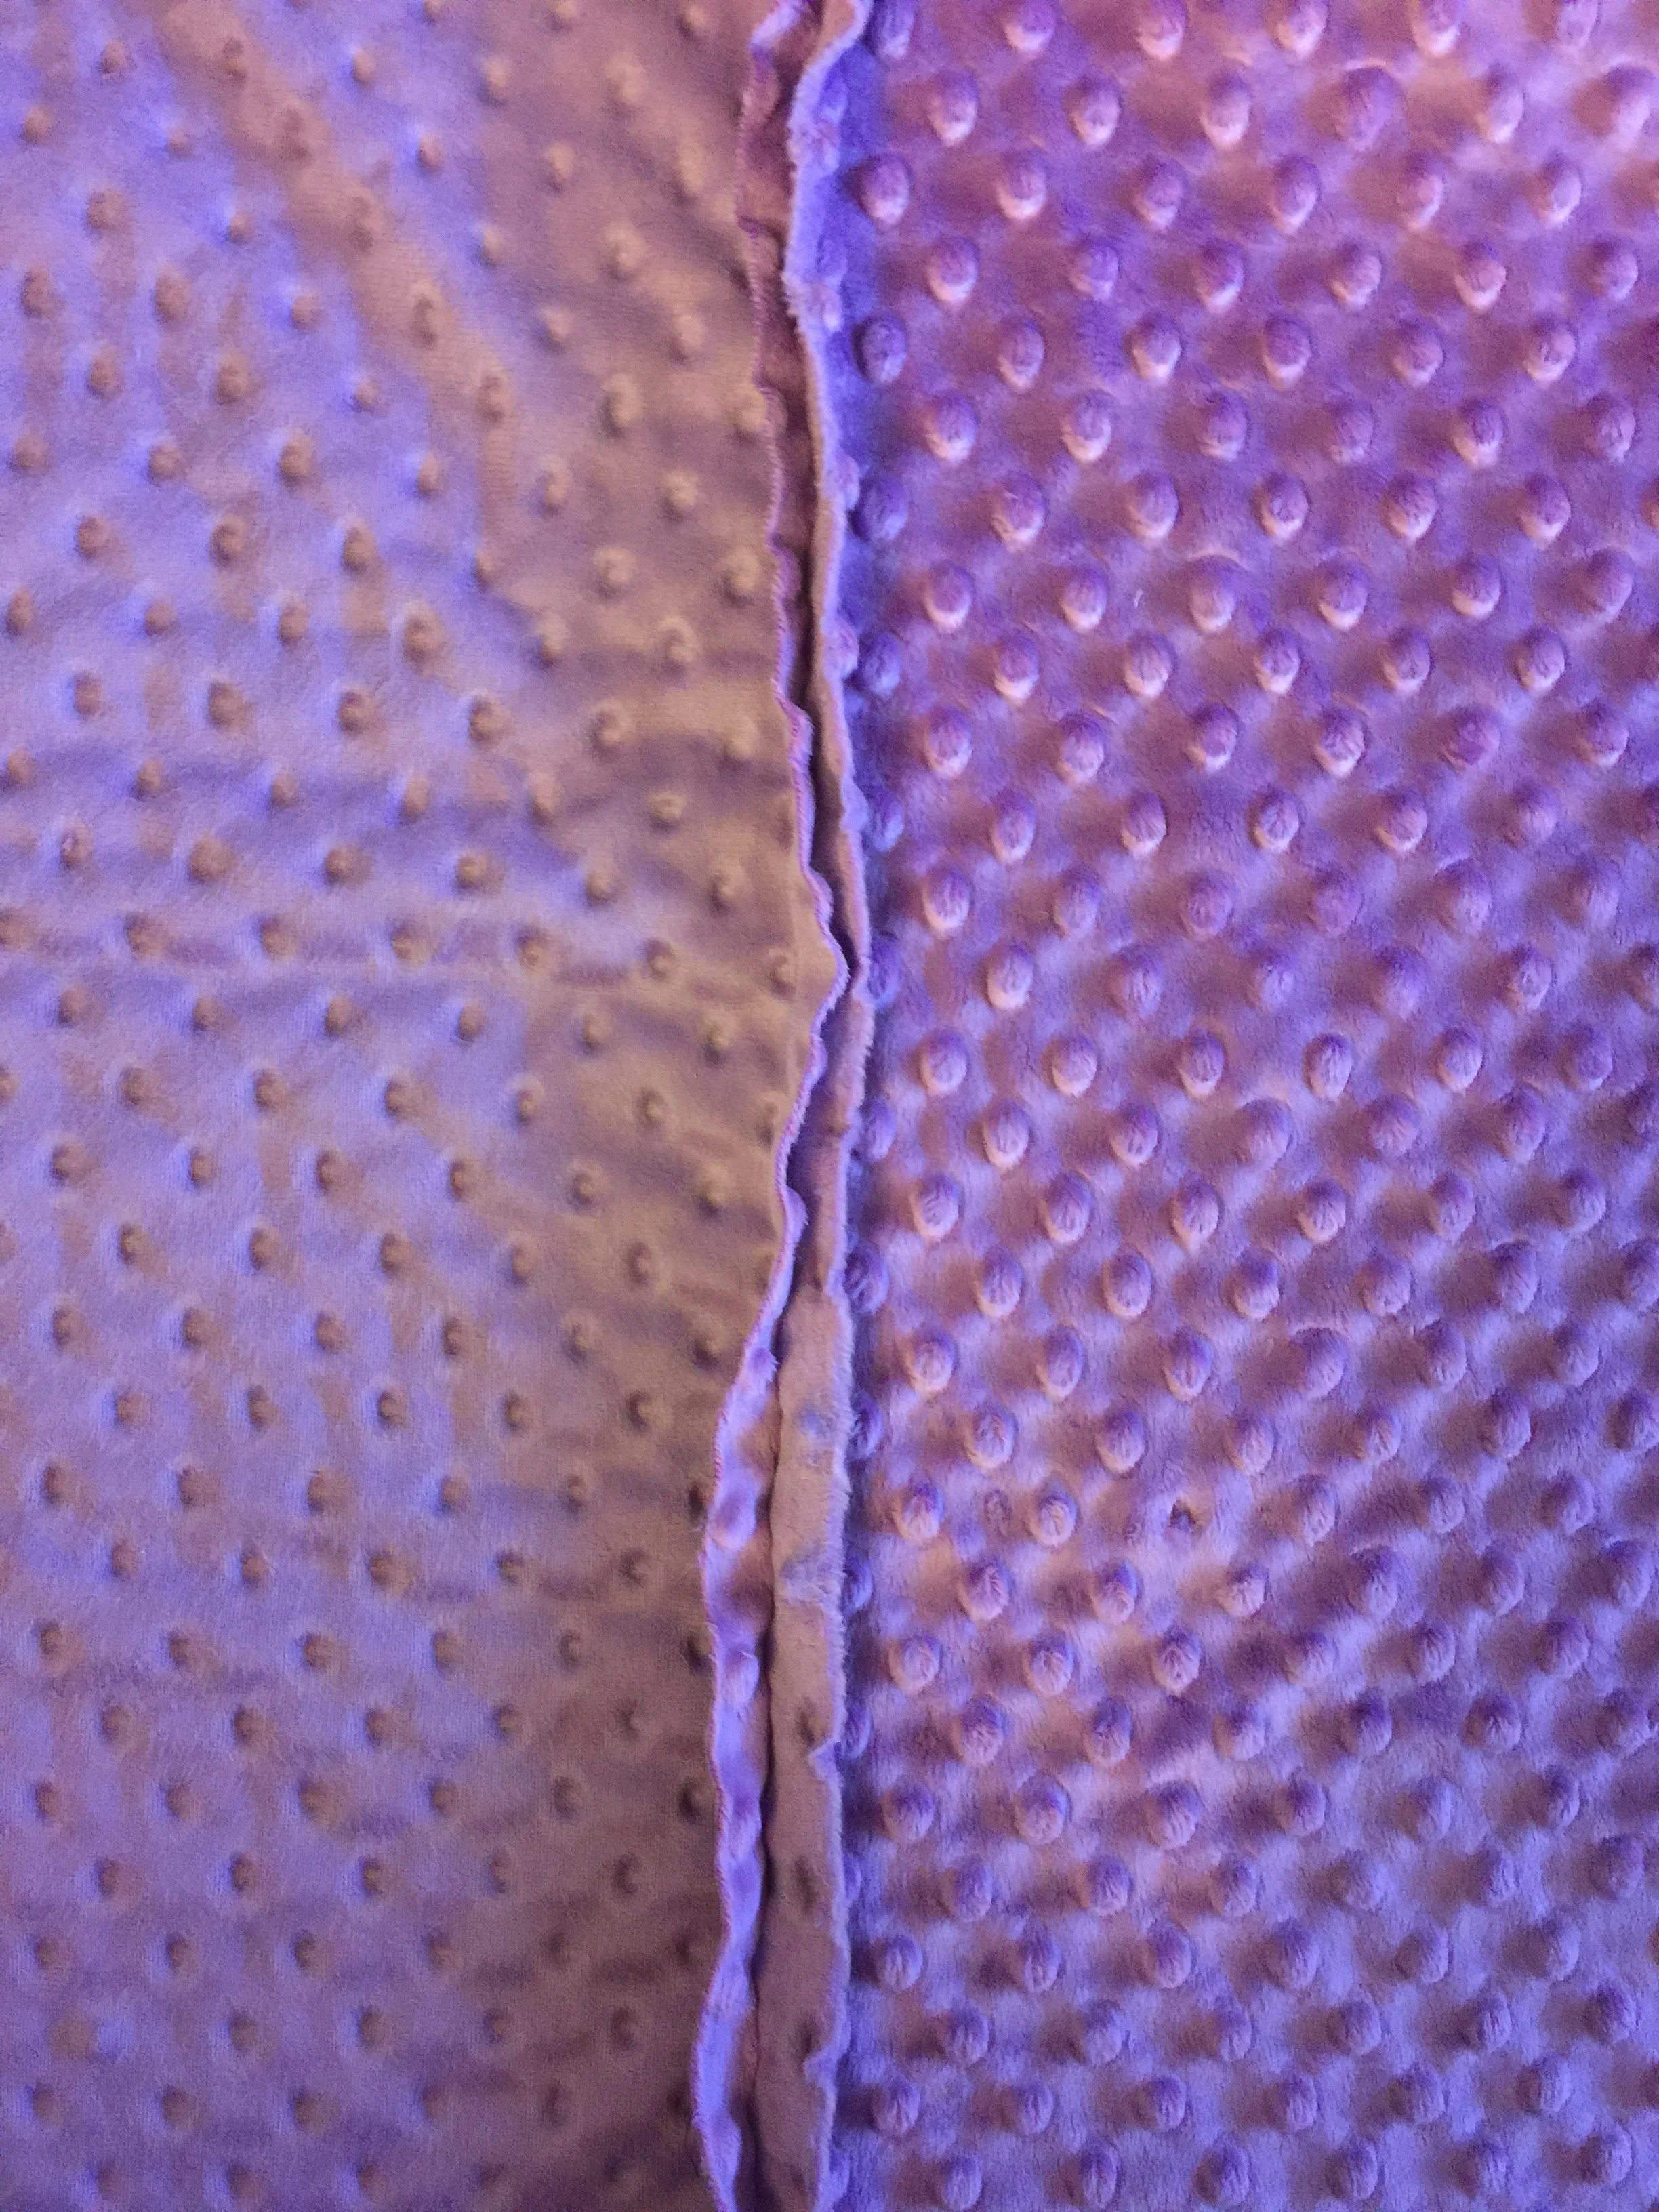
I was so mad at myself this quilt went on time out. It got put in a storage bin and hidden away for a year.
Finishing the quilt
October rolls around again so I decide maybe I'm not quite so mad at myself anymore and can finish this quilt now. I spent a lot of time with my seam ripper which is a pain in the butt on a fluffy fabric like Minky. Got the backing sorted out.
Sandwiching the quilt top, batting, and backing on this quilt was tricky. It took me three tries to get it right.
This could have been easier for me if my quilt top was a little smaller. If I used a bigger batting. If I worked in quilt as you go style pieces and then assembled those later. If I had more floor space to work with in my house. There are a million things about making this sandwich that were a hassle. Ugh. Glad that part is done. Ultimately I had to use wide blue masking tape to hold my backing taut. Then I spray basted each of my layers to the next. And then I pin basted everything.
I'm hand tying this quilt with black DMC size 5 perle cotton.
The main reason I decided to go the hand tying route is because this quilt is so big and bulky that it doesn't fit under the tiny arm of my Bernina 350PE (which is a 3/4 size machine).
The hand tying is still in process. I'm about 1/3 of the way through the quilt and doing a simple tie at each corner. I start at the top of the quilt and go through to the bottom and then back up to the top with a big tapestry needle. Then I tie a square knot which is like a double knot except that you need to do one of the knots with the opposite thread on top. Then I clip the tails so they are about half an inch long.
All I have left to do is finish the tying and put on a binding.
The Quilty Math Workbook is for quilters like you who want to learn how to calculate exactly how much fabric you need for your next geometric patchwork quilt.