

I'm participating in a handmade Christmas ornament swap on Instagram coordinated by Acts of Craftiness.
I decided to use some scrapbooking supplies I already had to make these Christmas balls.
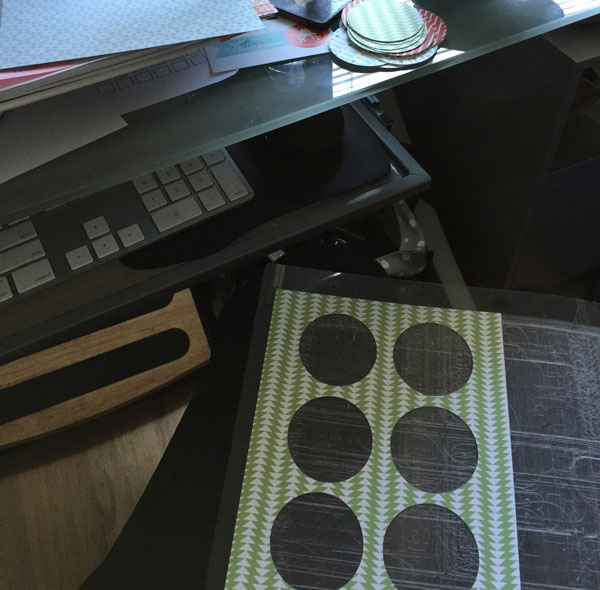
First I cut out a ton of 2 inch circles with my Silhouette. You could also use a punch, but my 1 inch punch was too small and since I already had the Cameo, I wasn't going to buy another punch. Each ball takes 20 circles and you might want some to spare.
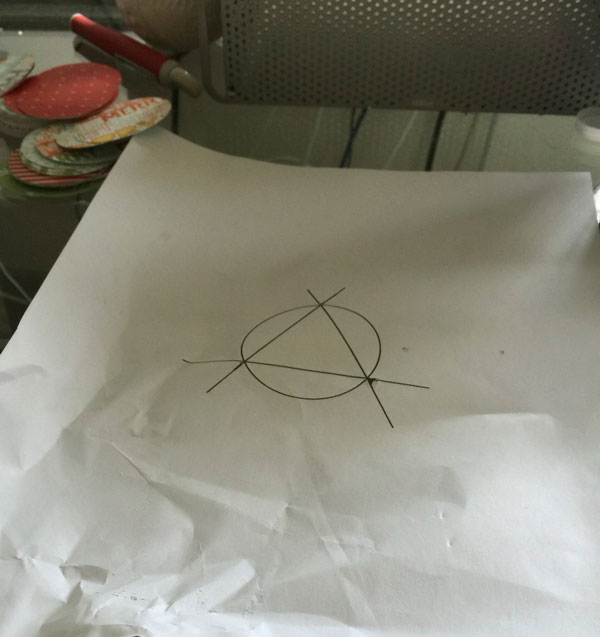
Next, I drew a template for scoring my circles. You want an equilateral triangle in the middle of the circle. I extended my triangle legs so I could use them to line up my ruler. Score all the triangles. This is the most tedious part. I think you might be able to score them with the Silhouette but I haven't figured out how to do that yet.

Fold along all the score marks.

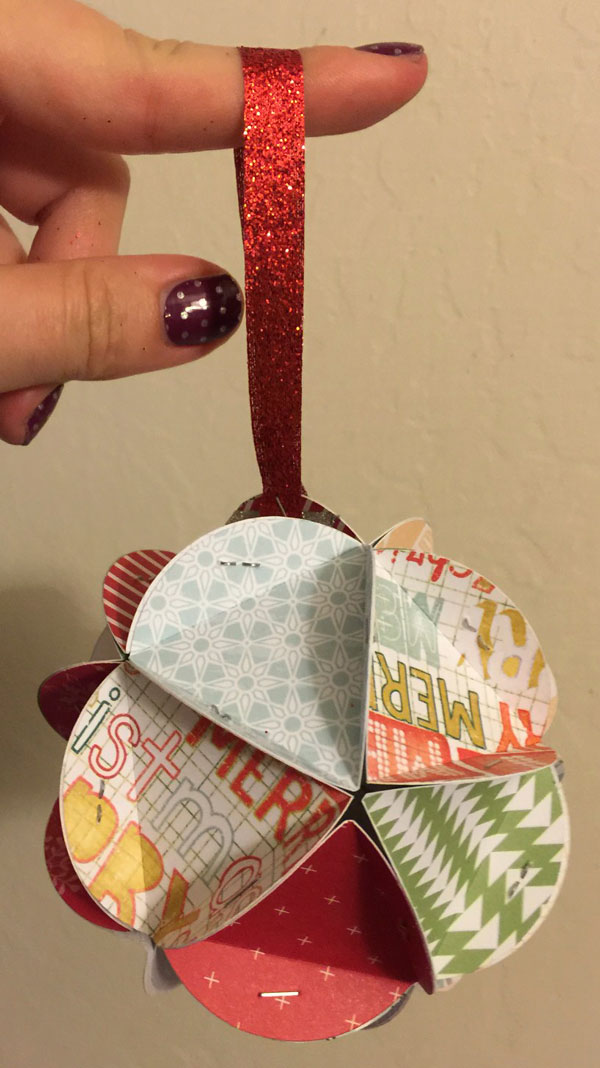
Start arranging your pieces so 5 corners come together on each "side" of your ball. Attach your flaps. You could use glue but I'm not a big fan of glue so I used a mini stapler.

Keep attaching flaps to each other until you've completed your ball.

I a) scored some of my lines a little too aggressively and had some breakage and b) wanted more glitter so I reenforced some areas with glitter washi tape. Then I cut a length of glitter ribbon and stapled it on the hang the ornament on the tree.
Supplies I used: Silhouette Cameo, Tiny Attacher, paper is from the 2013 Ali Edwards Decemeber Daily kit, glitter washi tape, glitter ribbon from Michael's
