The luxury in sewing slowly

Last night I wanted to sew while Luke was in his room and supposed to be sleeping (but he wasn't). I wanted to keep it quiet so he'd be less interested in what I was doing so I turned the speed on my sewing machine down to it's slowest setting. And then a memory popped into my head of the very first day I got this sewing machine.

My local quilt shop was having a huge one day sale on sewing machines so I could get a great price on exactly the one I had my eye on. The needle timing had gone off on my old Singer Touch and Sew that I got from my grandmother and getting it fixed was going to cost more than the whole thing was worth if it was working, so a replacement was the obvious choice. My husband had to work the same hours as the sale so I rounded up my dad to help with the heavy lifting because I was very pregnant and not up for wielding a heavy box or a bulky box much less a heavy and bulky box.

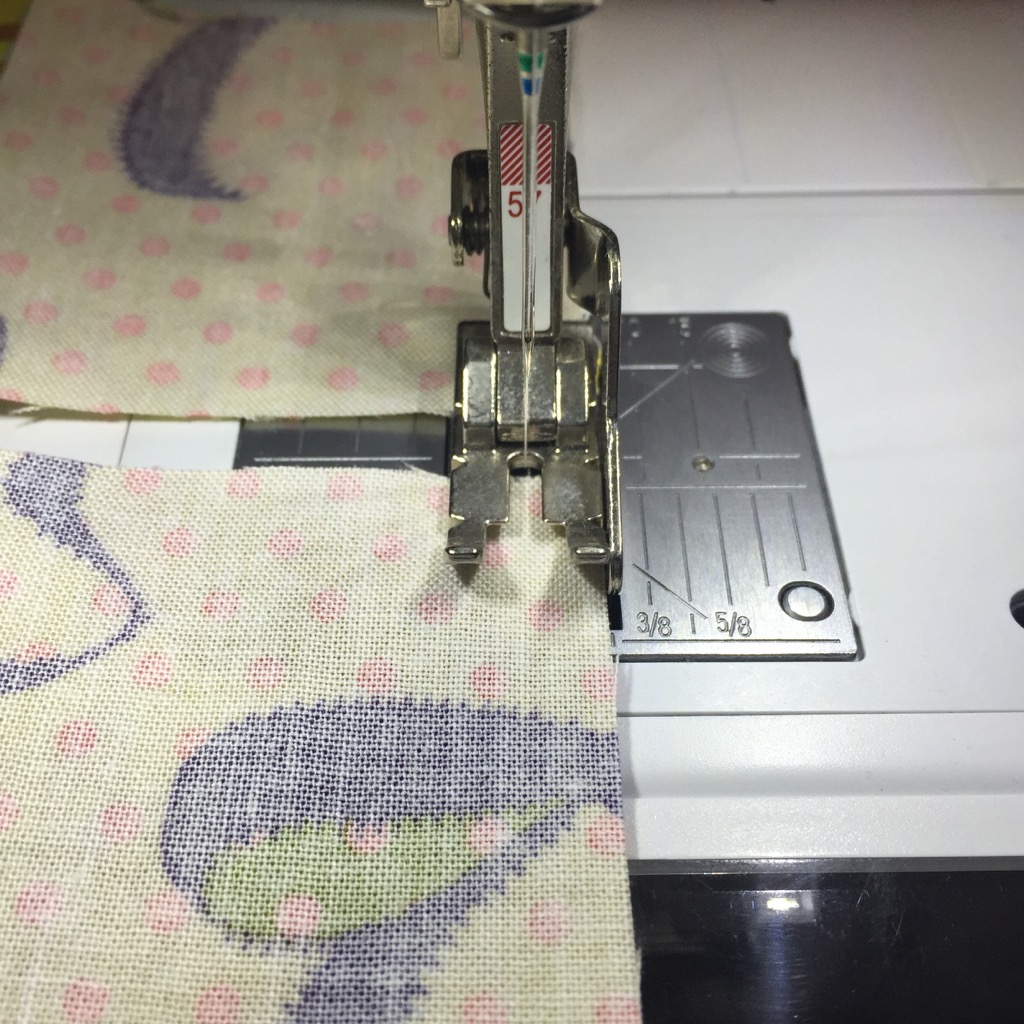
My dad wanted to make sure I got it set up and working in case I needed help taking it back to the store. I started sewing. On the slowest setting.

My dad asked me why I didn't just turn up the speed and I said I didn't feel the need to go any faster. And my dad said something like, "you'd sew as fast as you could all the time if you worked in a sweat shop."

I'm pretty grateful I don't work in a sweat shop. I think my dad is pretty grateful I don't have to work in a sweat shop.

Sewing slowly is a privledge.

I'm chronically behind on any sort of stitch-a-long or quilt-a-long I've ever tried to participate in. On a good day I do maybe an hour and a half of sewing. I haven't finished any major project in the year and a half since my son was born. But I've started plenty of new ones.

And that's ok.

It's a luxury that I don't have to sew as fast as I can 8 hours a day or more to make a living for my family. It's a luxury that I can make clothes for them if I so desire but I absolutely don't have to.

Slow sewing and "being behind" reminds me that I'm sewing for pure pleasure.

The luxury in sewing slowly

Patchwork piecing with a quarter inch seam allowance

When I made my first quilt, I didn't know that patchwork quilt patterns were designed to be sewn with a 1/4 inch seam allowance. I used what had, up to that point, been my sewing standard of a 3/8 inch seam allowance which meant that my quilt came out smaller than I anticipated.

An accurate and consistent seam allowance may seem tedious at first, but as you get further along with your quilt top and start connecting those rows to each other into blocks, it'll mean that it's easier to line up your points (those spots where multiple patches come together at the corners).

There are a couple options for keeping your seam allowance consistent:

  • Marking a 1/4 inch seam allowance on your machine

  • Using a 1/4 patchwork foot

Marking a 1/4 seam allowance on your machine

IMG_6084

Right this very moment, you can grab a ruler and some masking tape (I keep a roll of washi tape in with my sewing supplies) and mark a 1/4 inch seam allowance on your machine.

IMG_6085

A quarter inch on my machine lands on the feed dogs (those little metal teeth that help pull your fabric through)  so putting that masking tape on where it won't get in the way of sewing is tricky. My tape isn't quite straight but it's better than nothing.

Using a 1/4 inch patchwork foot

IMG_6086

My preference is to use a special foot on my machine. I'm currently using a Bernina machine with a #57 foot which is described as a "patchwork foot with guide". For my old Singer, I had a generic patchwork foot with the guide that I found by asking about it at my local fabric store.

IMG_6090

With the patchwork foot with guide, you just pop your fabric in so that the right side of the fabric touches the left side of the guide and you sew.

IMG_6091

No backstitching needed when you're sewing all those patches together. I didn't know that when I made my first quilt and backstitching had been another one of those things I was so into the habit of doing by default.

IMG_6093

Since you're not backstitching, you can chain piece. As you finish sewing one pair of patches together, just pop in your next pair and keep going. When you've got a bunch done, go back and cut the thread between each pair. I find a small pair of embroidery scissors is easier to use here than a big pair of fabric sheers.

$13.44
GINGHER
Buy on Amazon
IMG_6092

How I make cross stitch work in my fringe minutes

I judge books by their covers so when I first started seeing this book making it's rounds on the internet, I thought it wasn't for me because I don't have any hours to spare. Months later, I realized I do indeed need more time for me so I decided it was time for a read.

[affiliate link]

The Fringe Hours may be a bit of a misnomer. It's really more about the fringe minutes and I've got plenty of those.

"Five minutes here, half an hour there— these little chunks of time are all too easy to waste without even noticing. However, when fringe hours are recognized for their collective potential and leveraged for pursuing passions, life change can happen. The aspiration you thought was just a dream begins to take shape."

Yesterday Luke was down for a morning nap. I got some laundry going, started a loaf of bread in the bread machine, and then sat down to do some cross stitch.

I cut a new length of thread, plied off two strands, threaded my needle, and then got maybe 10 stitches in before Luke woke up from his nap. I stuck the needle, mid-stitching, into the edge of the fabric, shoved everything into it's Ziploc bag, and put it away for later.

Ten stitches a day may not seem like much but those stitches add up a lot faster and are a lot more satisfying than lamenting that I don't have free hours to do more in each sitting.

To make these fringe minutes work, I have to keep set up and clean up time to a minimum.

I don't use a hoop or frame when I cross stitch, I just hold an inch or two taught with my left hand while I stitch with my right hand. Getting the frame out of the picture makes it so much easier for me to get my project out and put it away for a short period of time. A gallon size Ziploc bag is easy and keeps my work in progress clean with a toddler running around.

I keep my embroidery floss, scissors, needle threader, and needles in a mini floss box that fits inside my gallon Ziploc bag. I only have one box and about 5 different charts in progress. Printed chart and fabric go in a bag per project and the box moves around depending on what project I'm currently in the mood to work on.

Supplies: The Frosted Pumpkin Stitchery Patterns (specific fabric and threads indicated in each pattern), Needle MinderDarice Mini Floss Organizer, Gingher 3.5 inch Stork Embroidery Scissors, Clover Needle Threader, Bohin Needles

How I make cross stitch work in my fringe minutes