Preschool Art Quilt Completed

I've spent my limited sewing time over the past few months completing this quilt. I was commissioned by my son's preschool to put assemble this quilt from fabric printed with art the kids in the 2 day class (2 1/2 to 3 1/2 years old) created. The completed quilt will be auctioned off at the school's silent auction fundraiser in May.

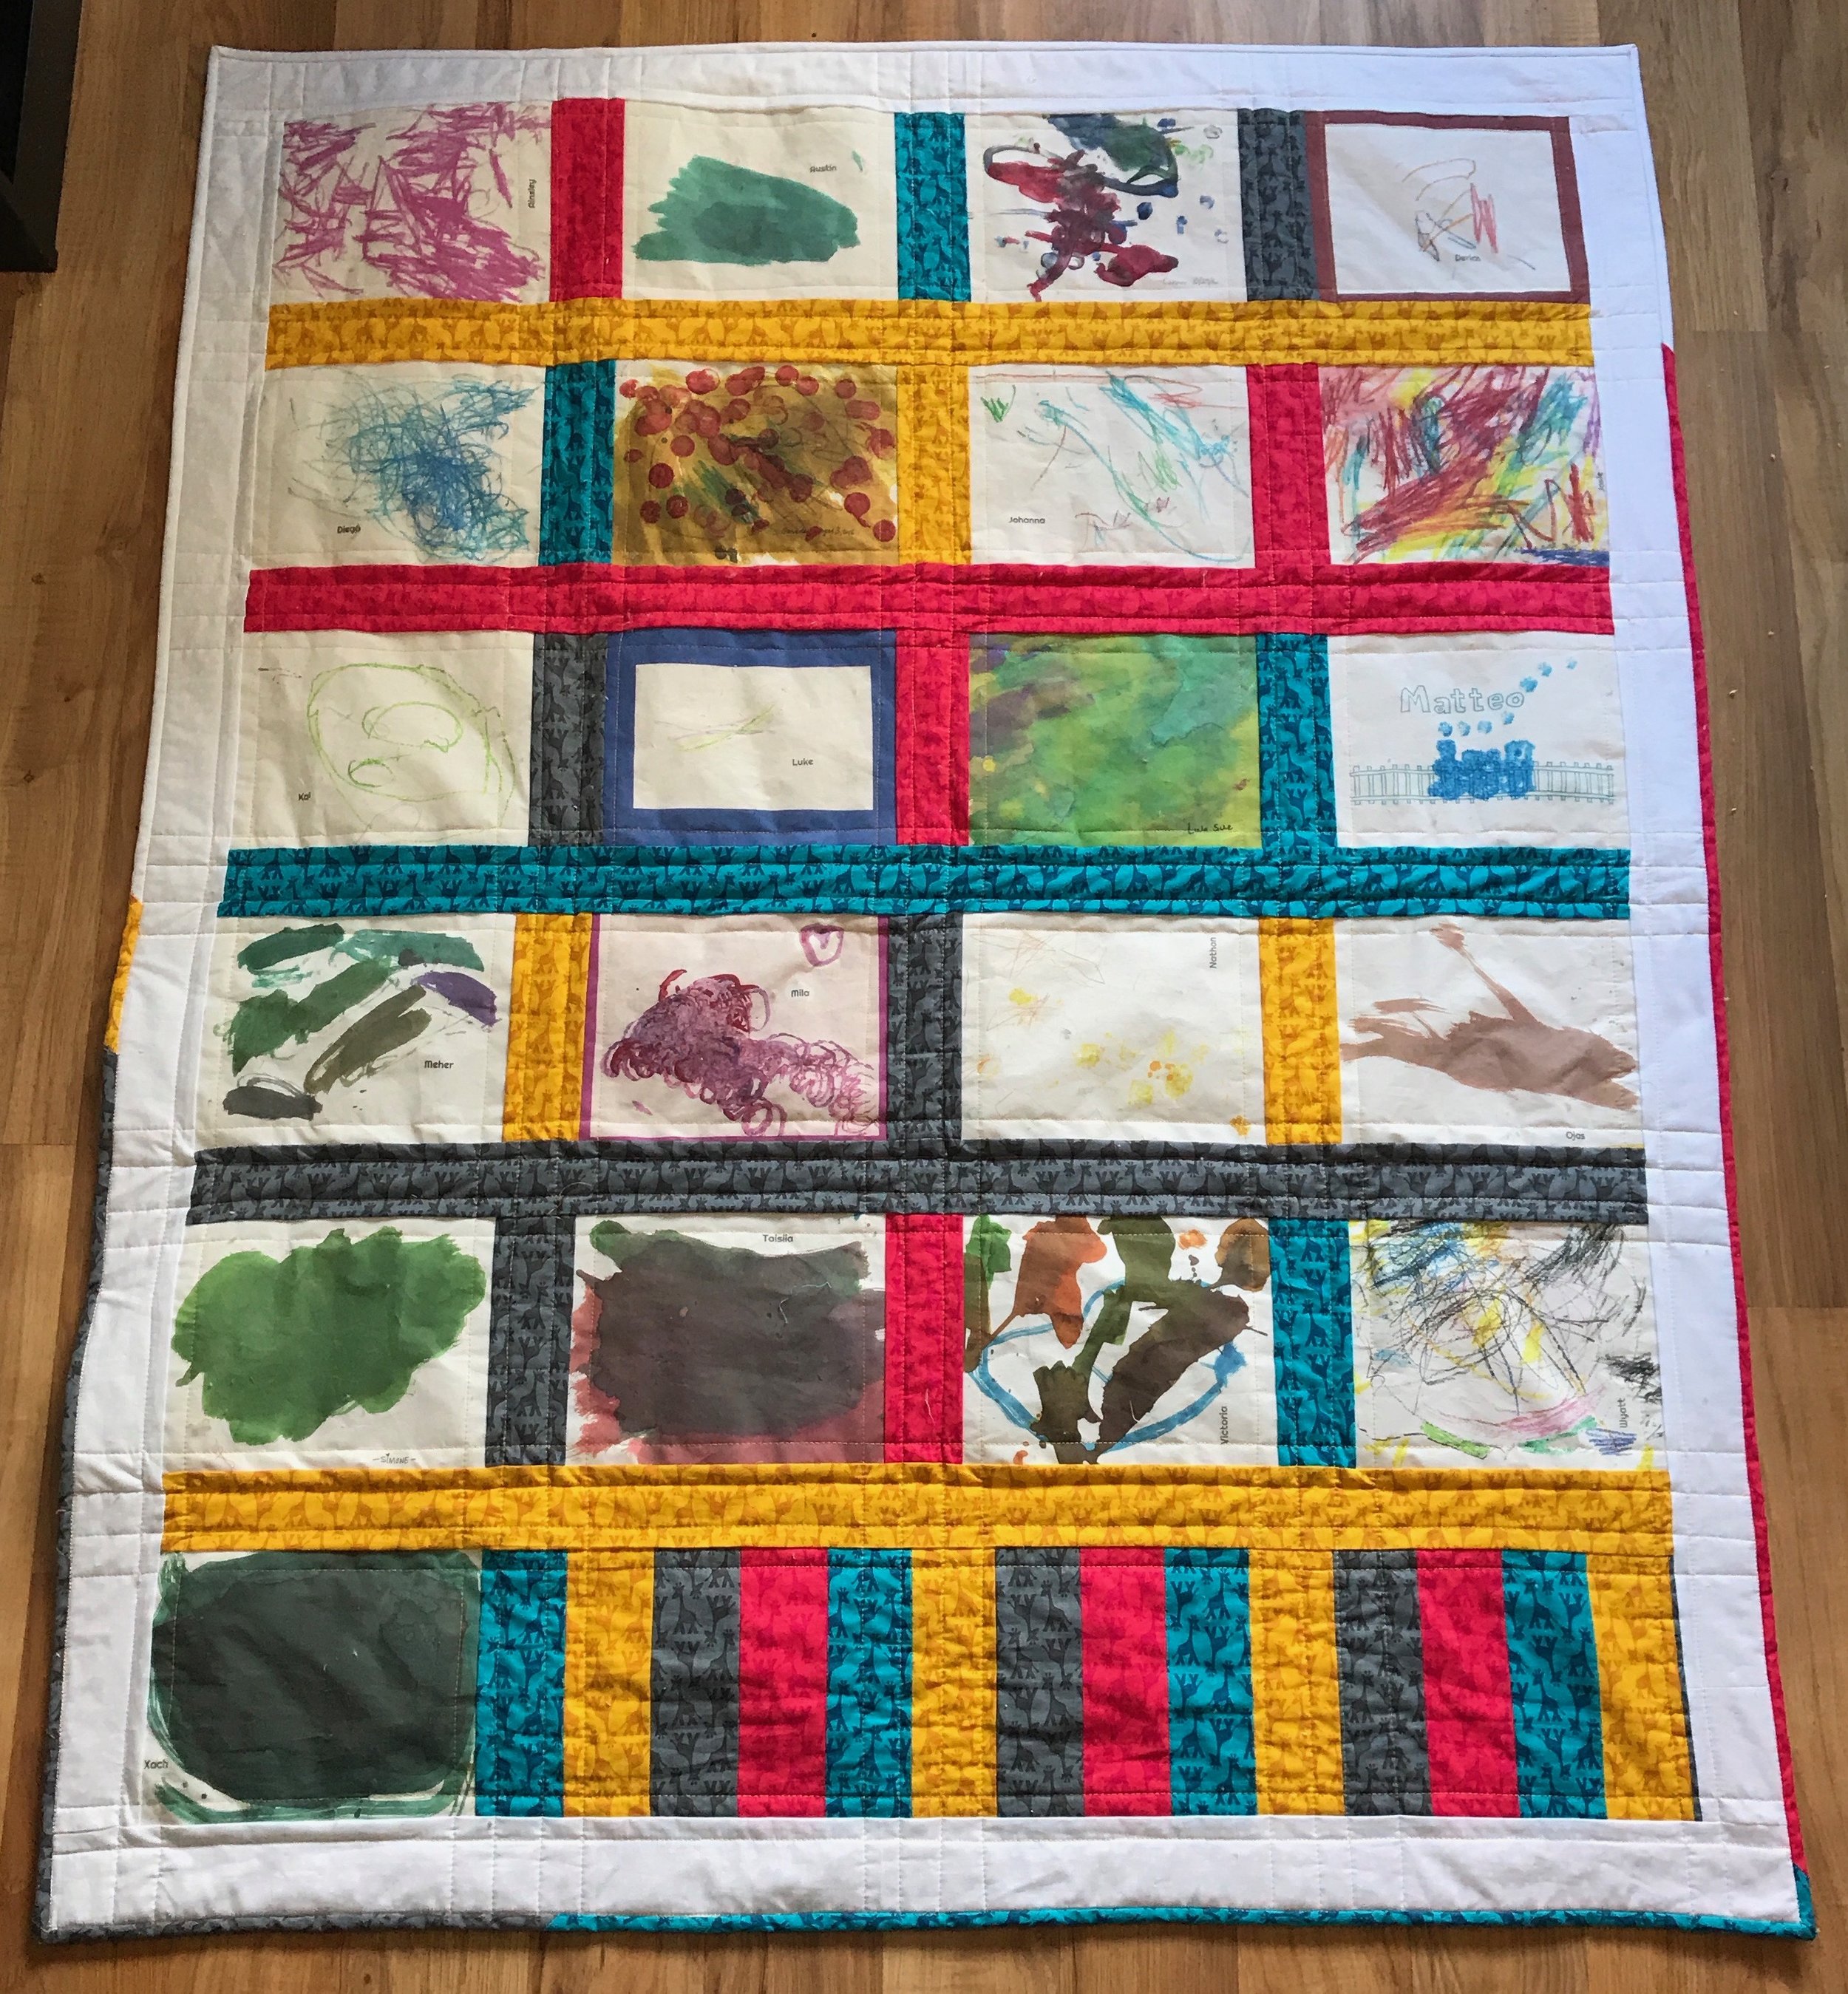
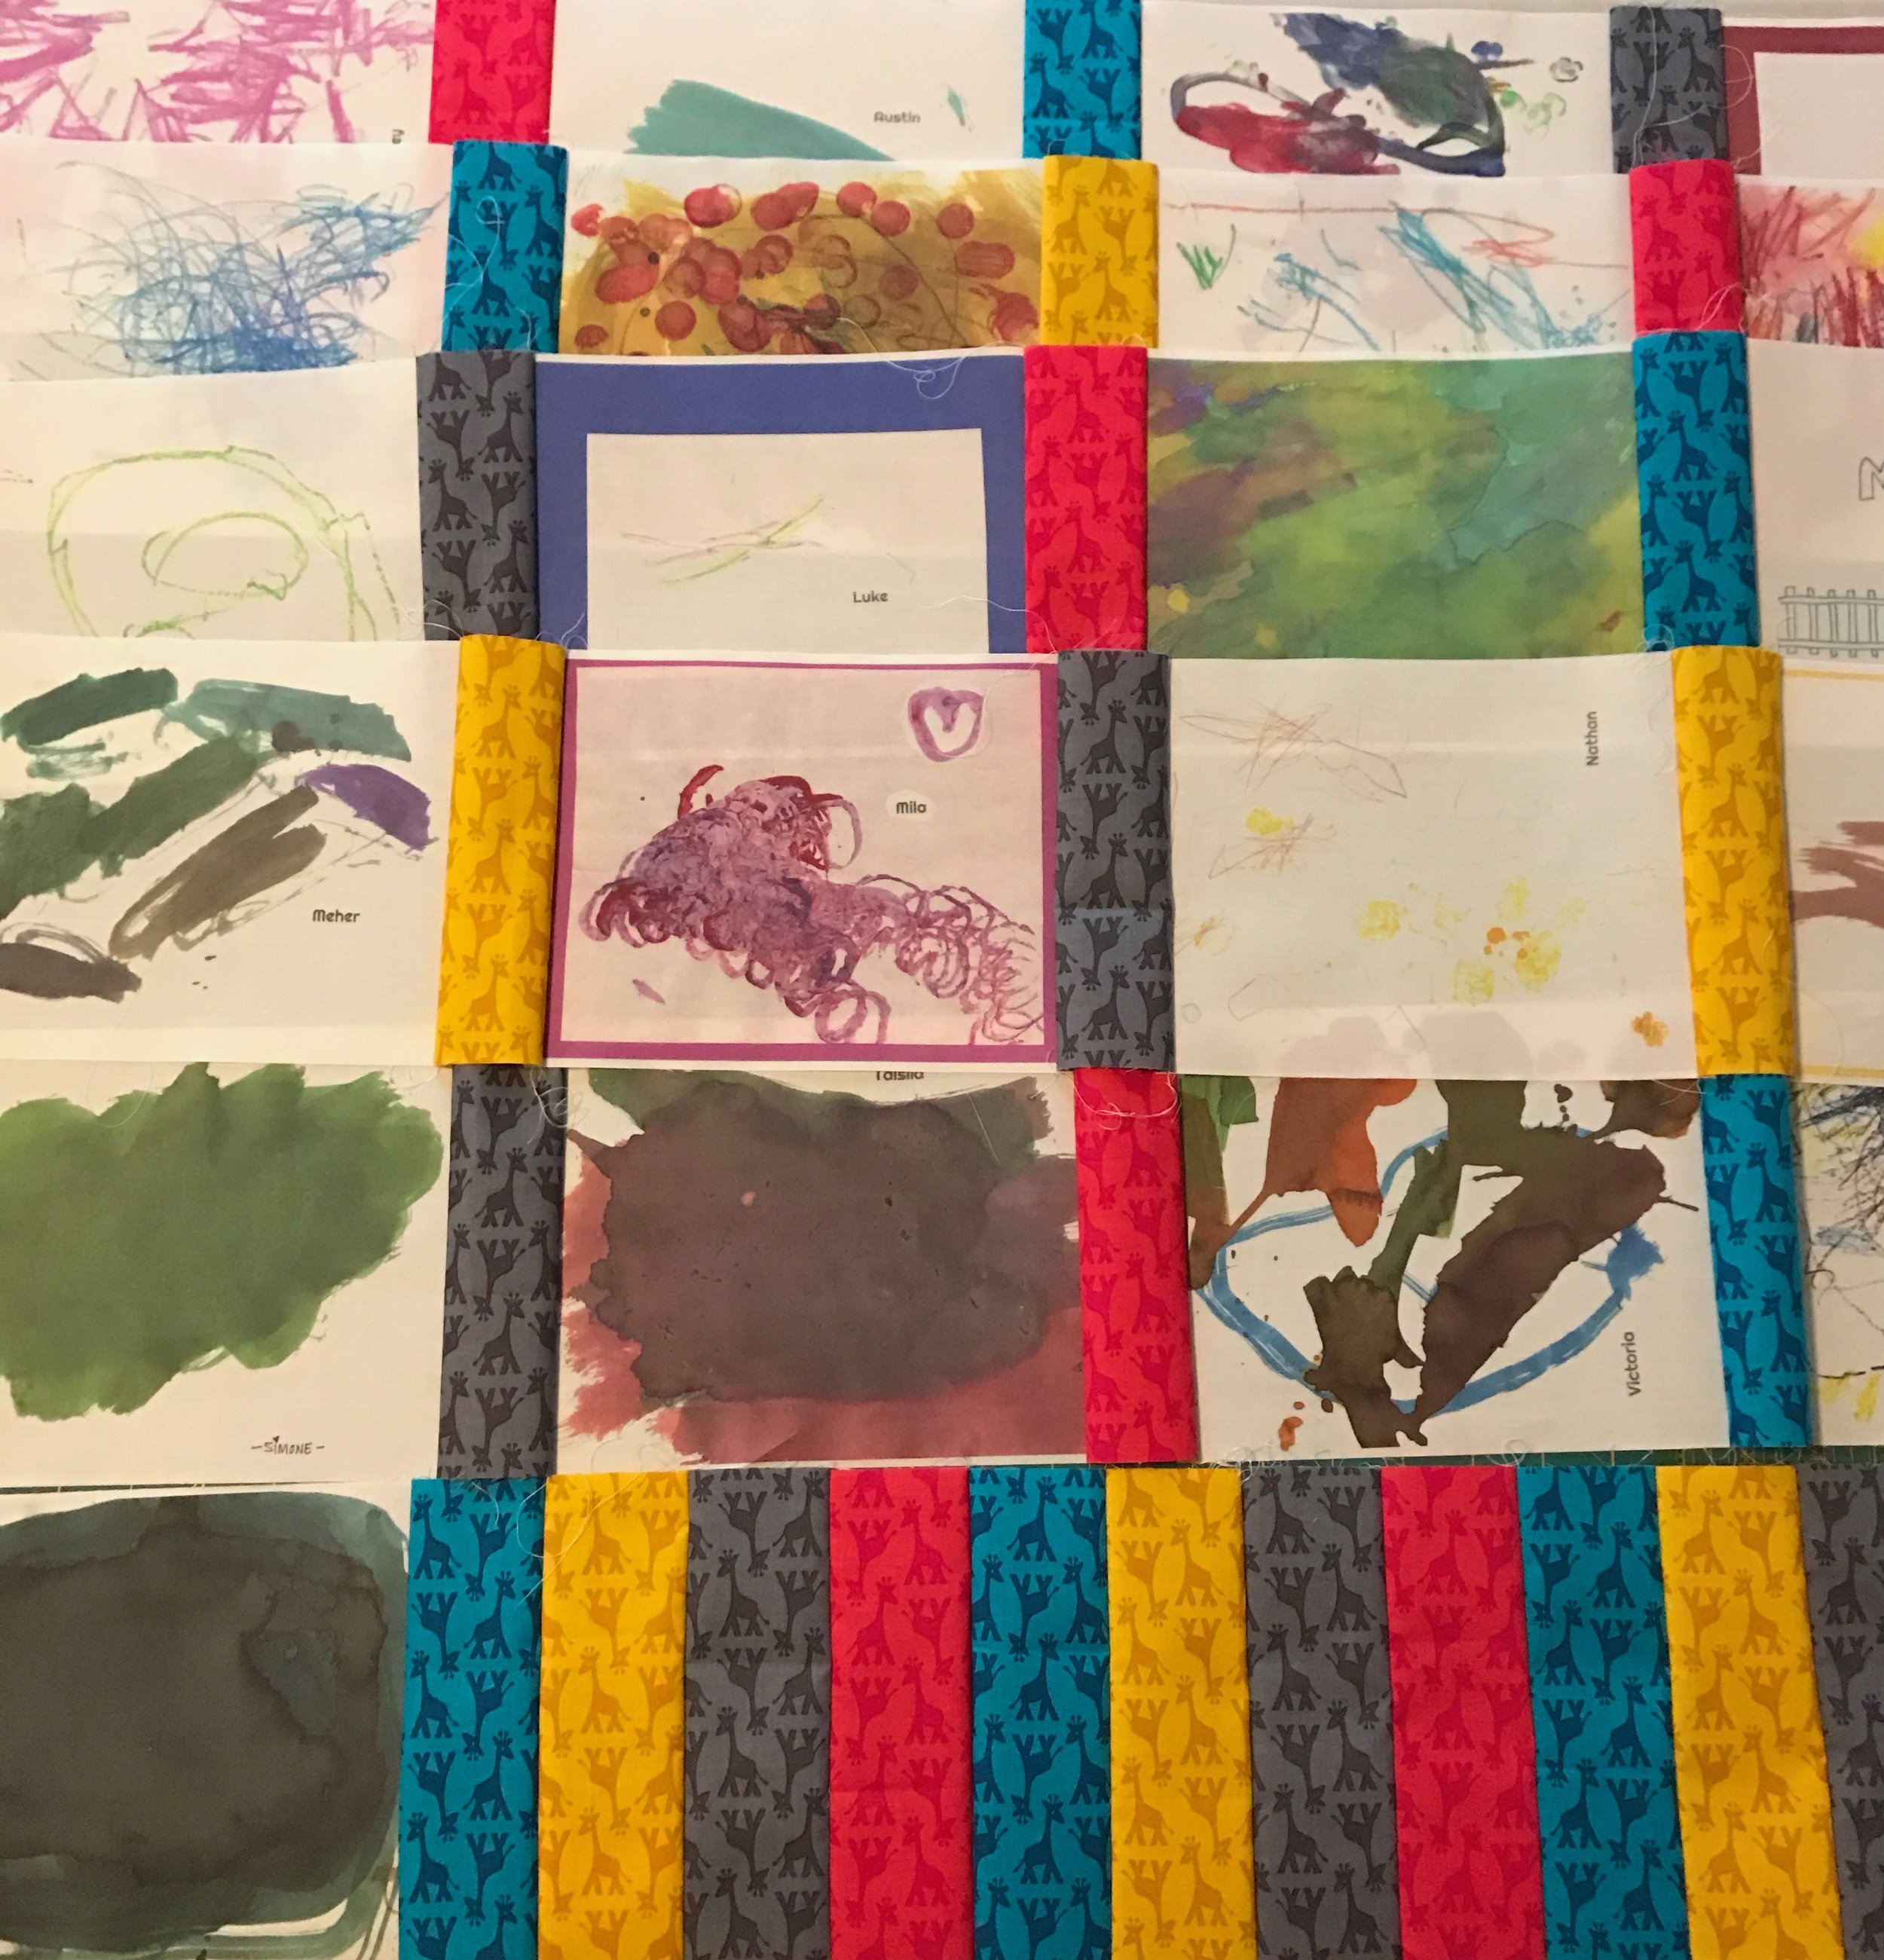
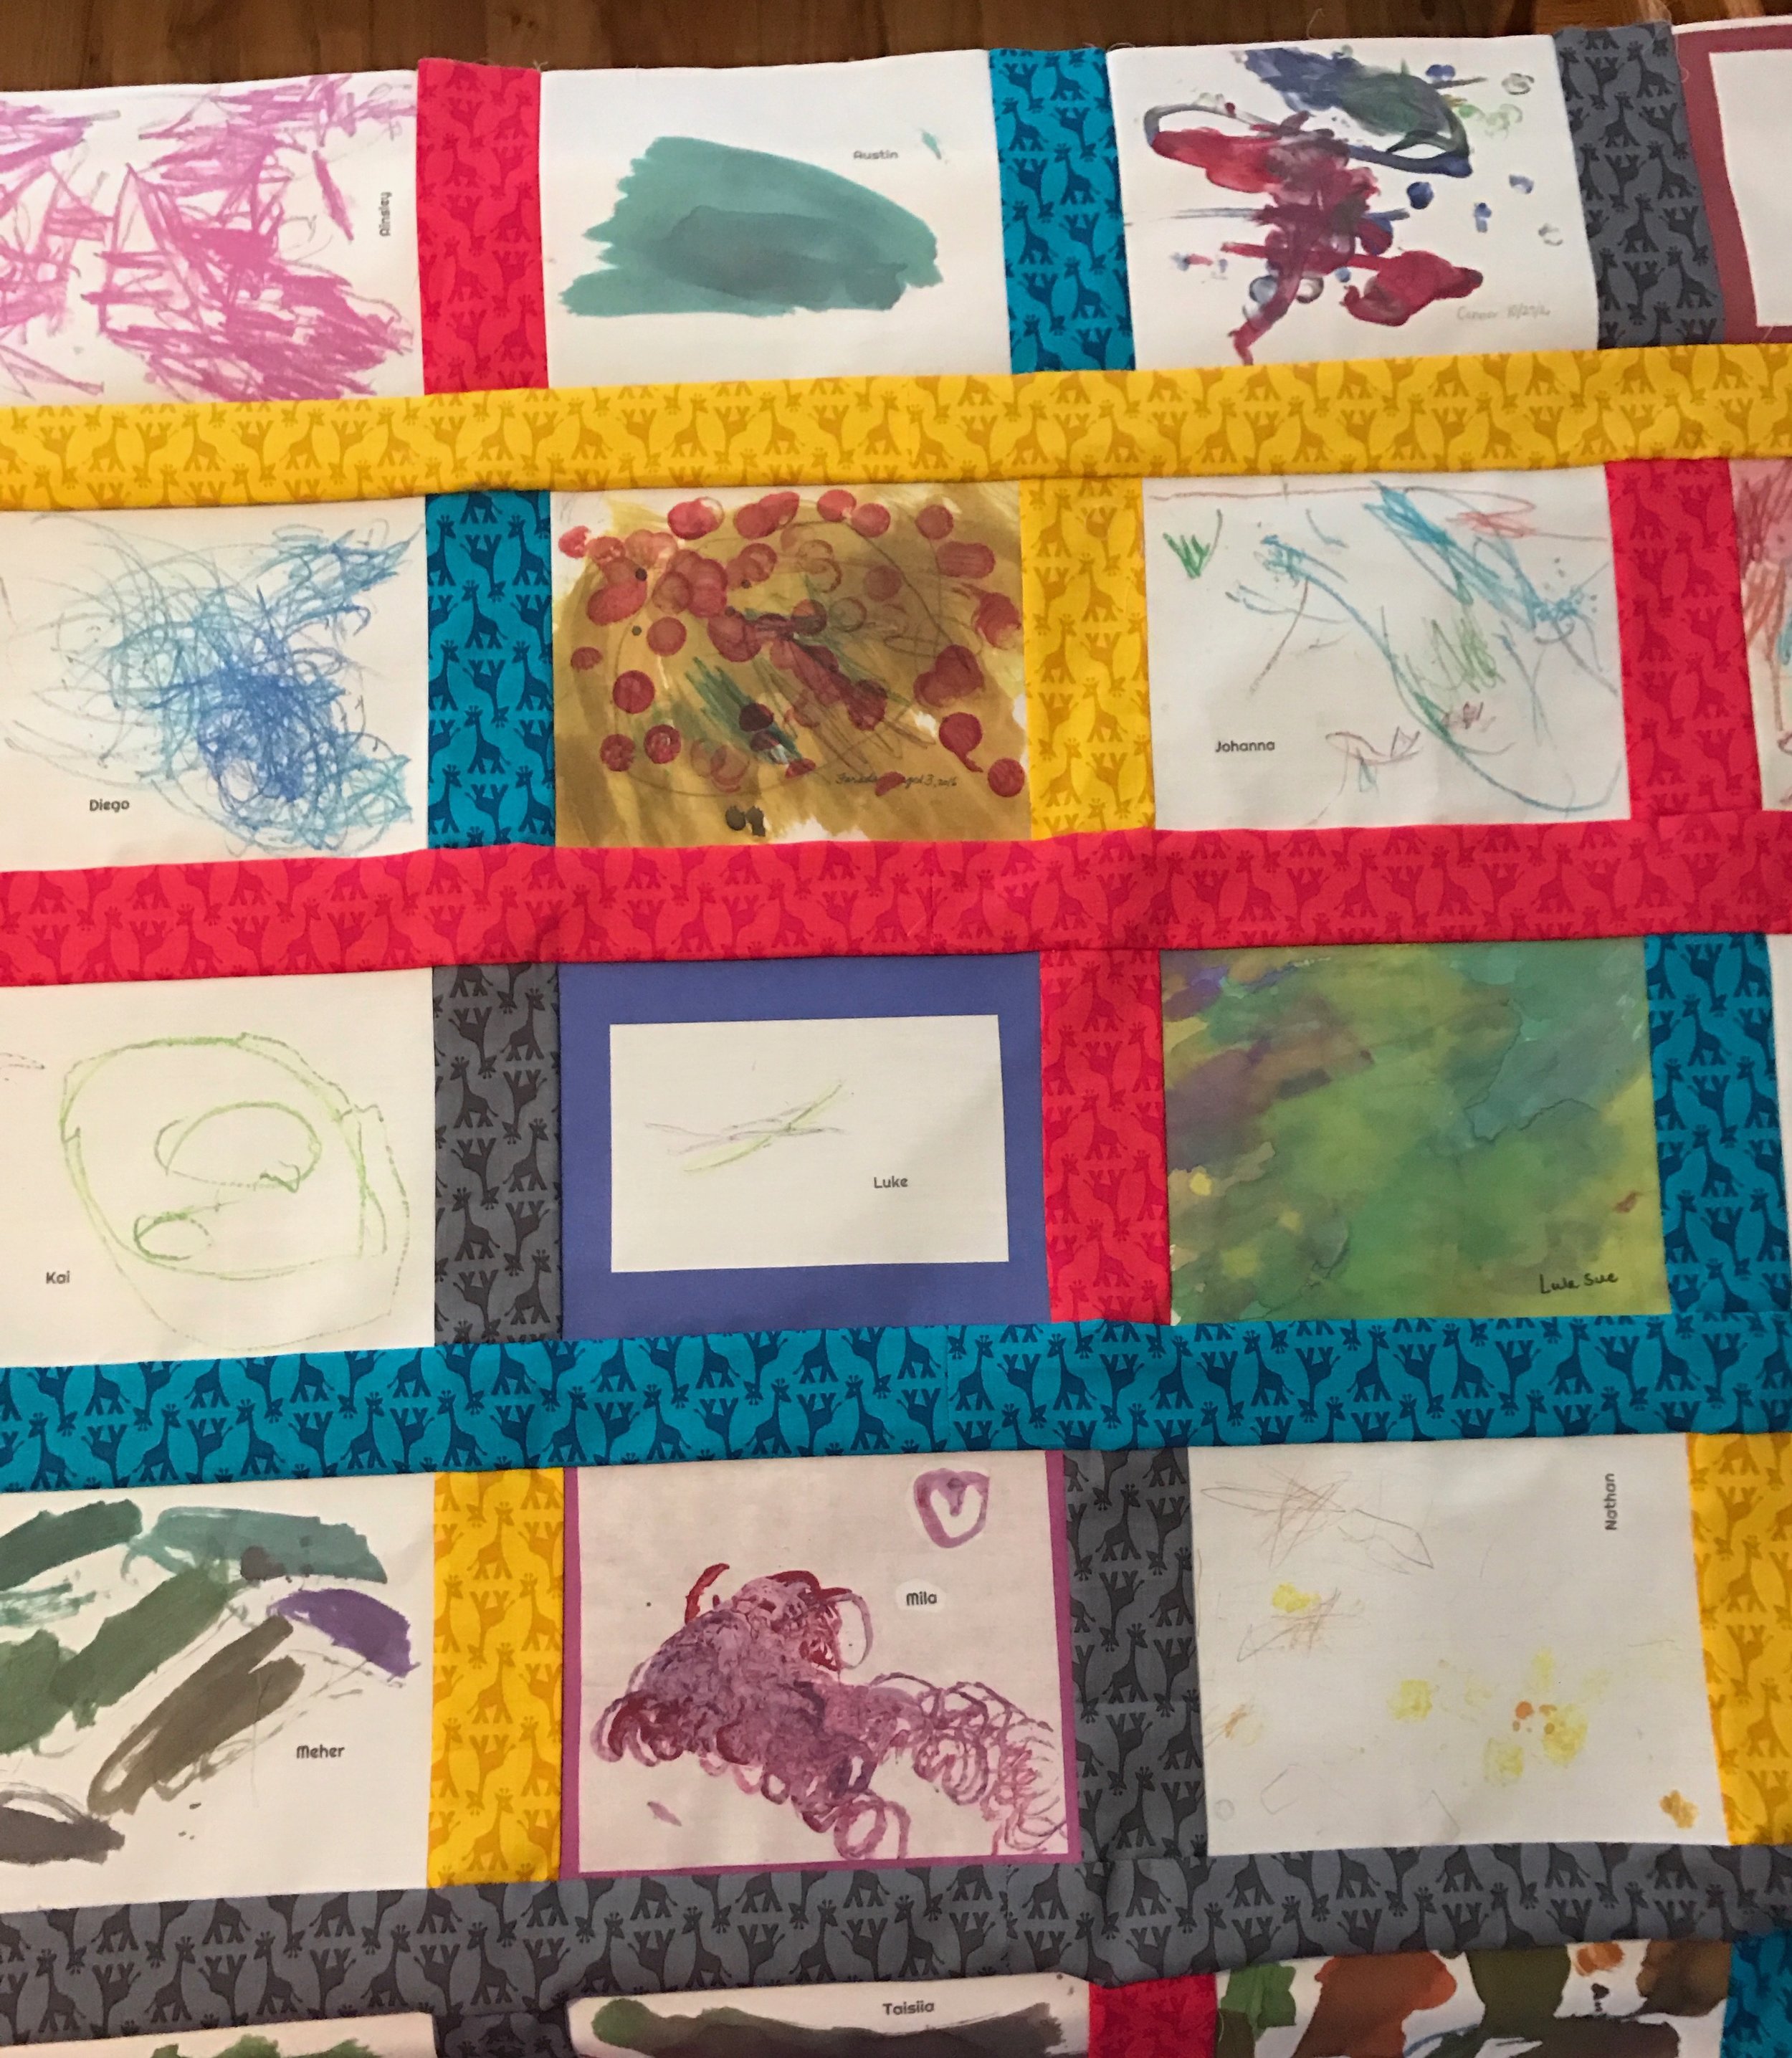
The class coordinator ordered the quilt blocks through Original Works. I thought the fabric was very papery feeling and they obviously used an iron on transfer to get the art onto the fabric because when I tried to press my blocks the color started coming off. It was hard to sew and just about impossible to press with the Original Works quilt blocks. If we do this project again next year, I am going to suggest we use Spoonflower to get the kids' art on to a better quality fabric.

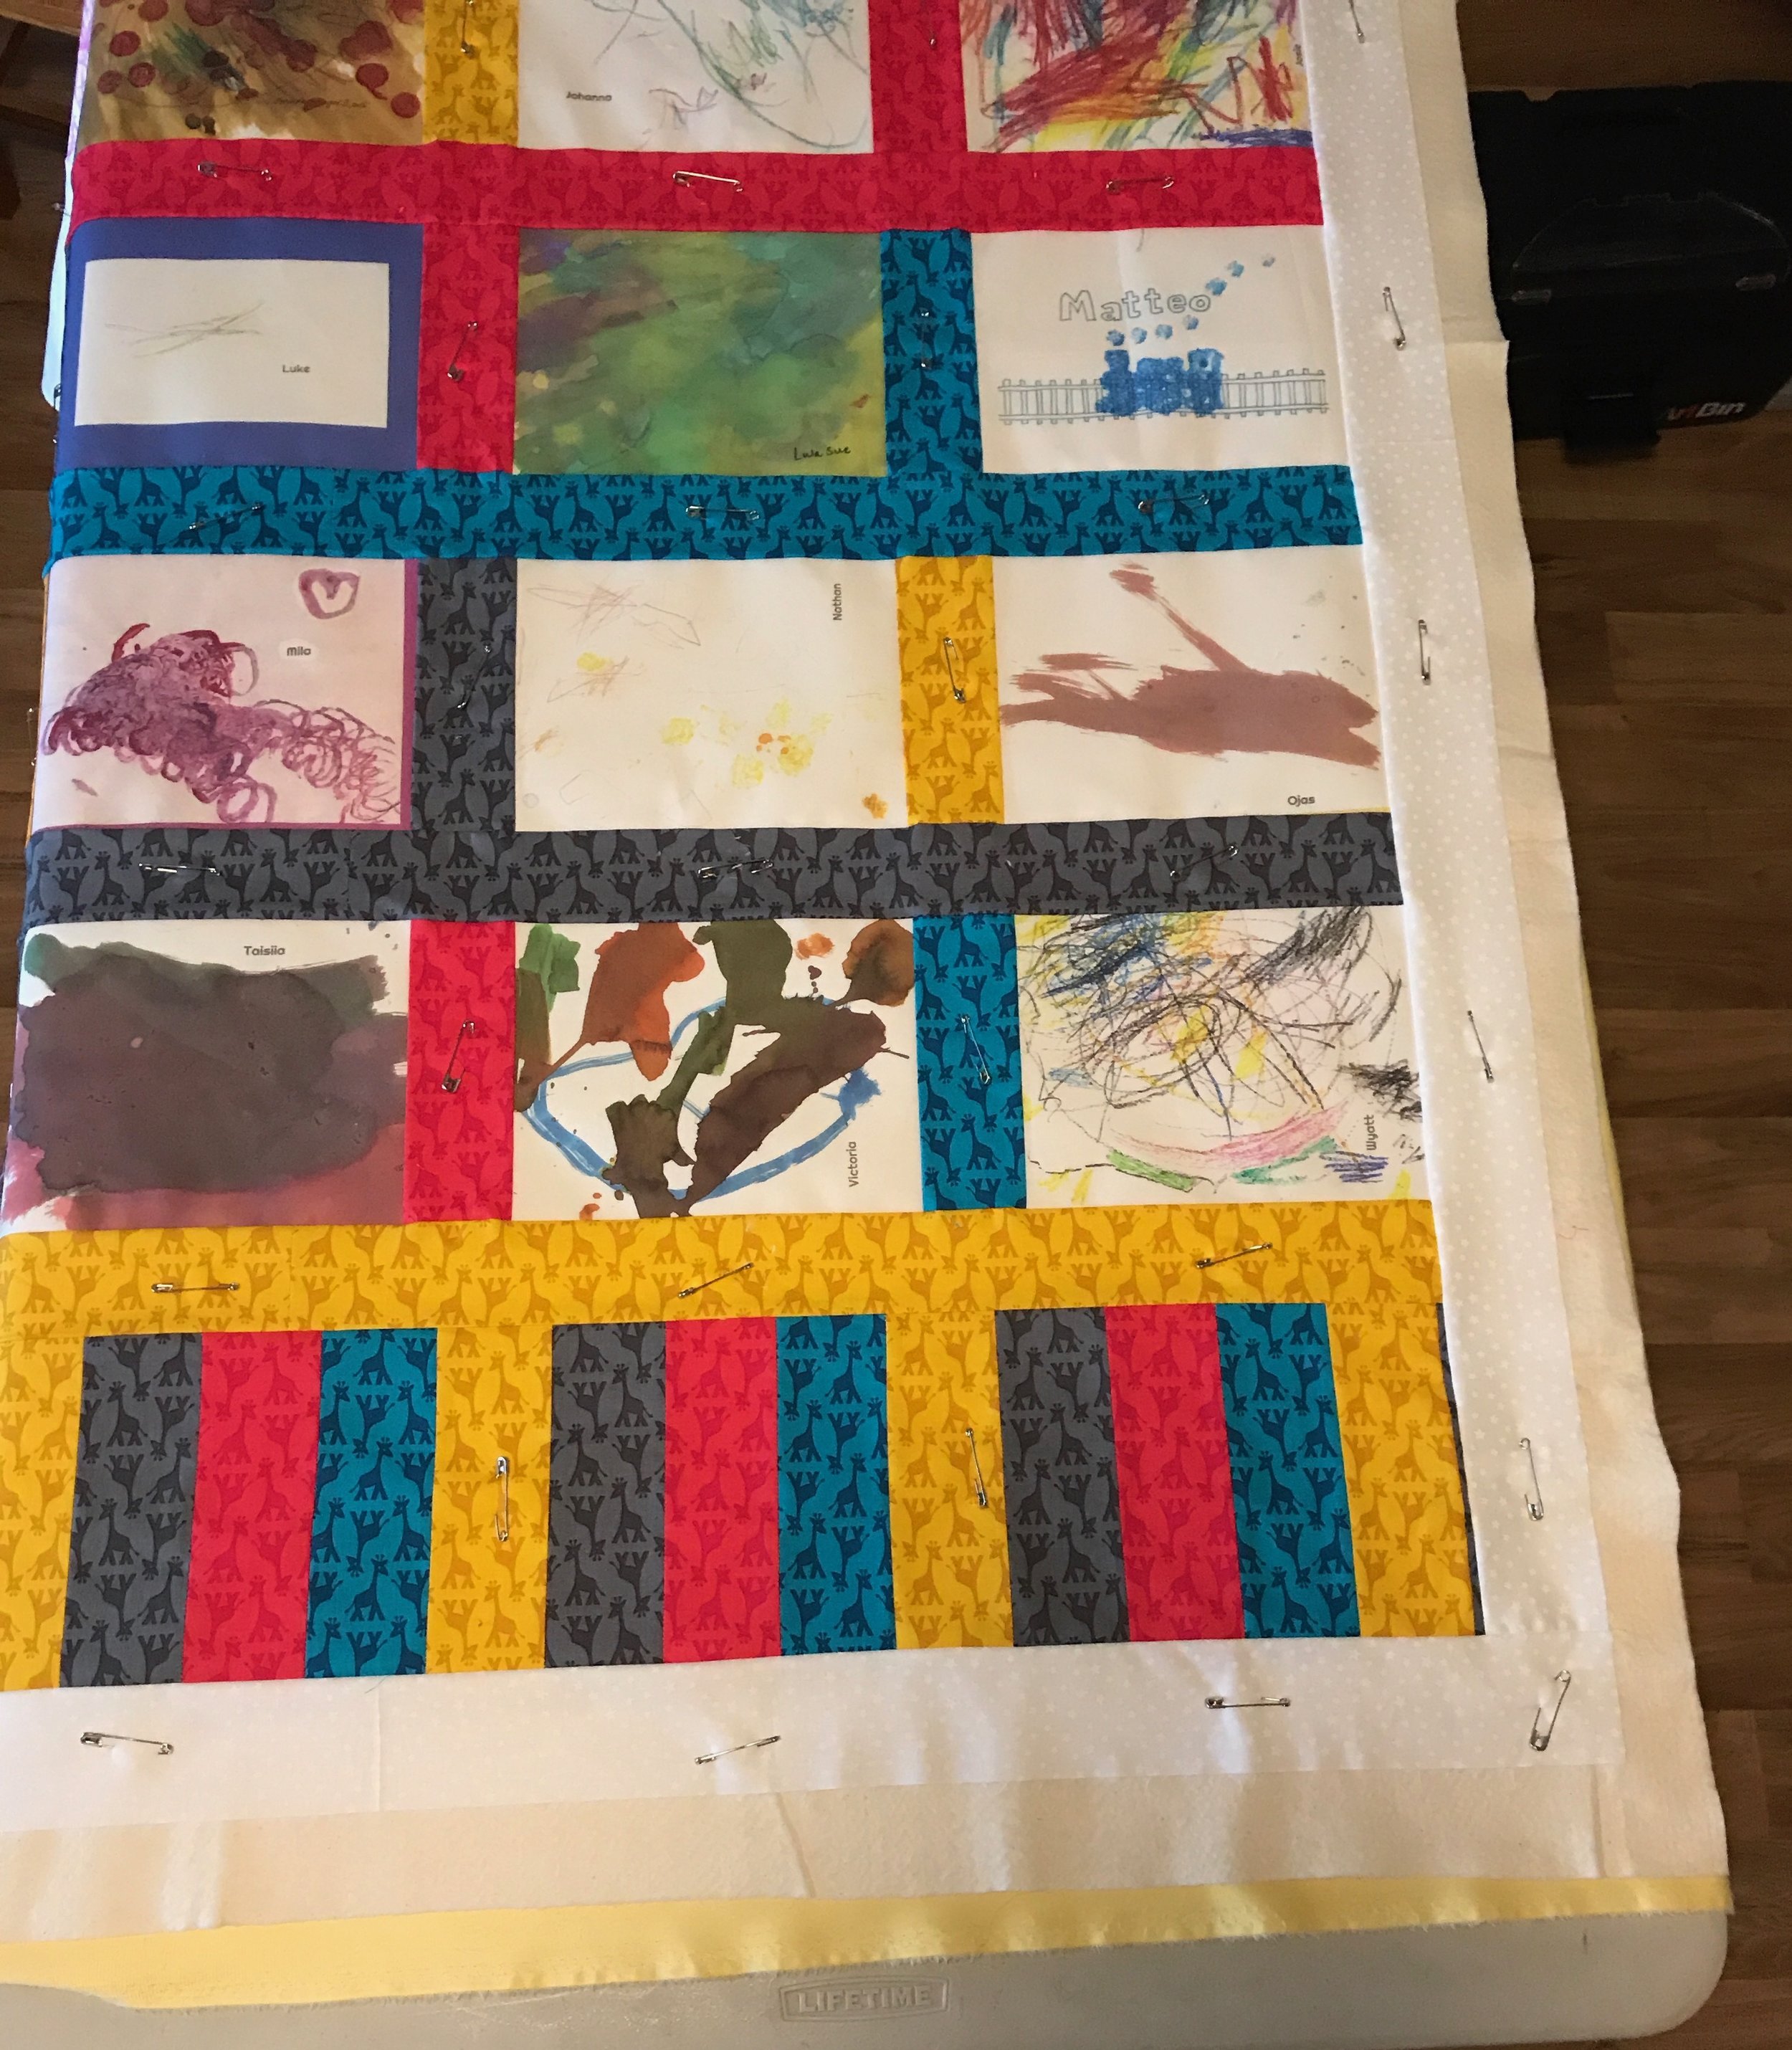
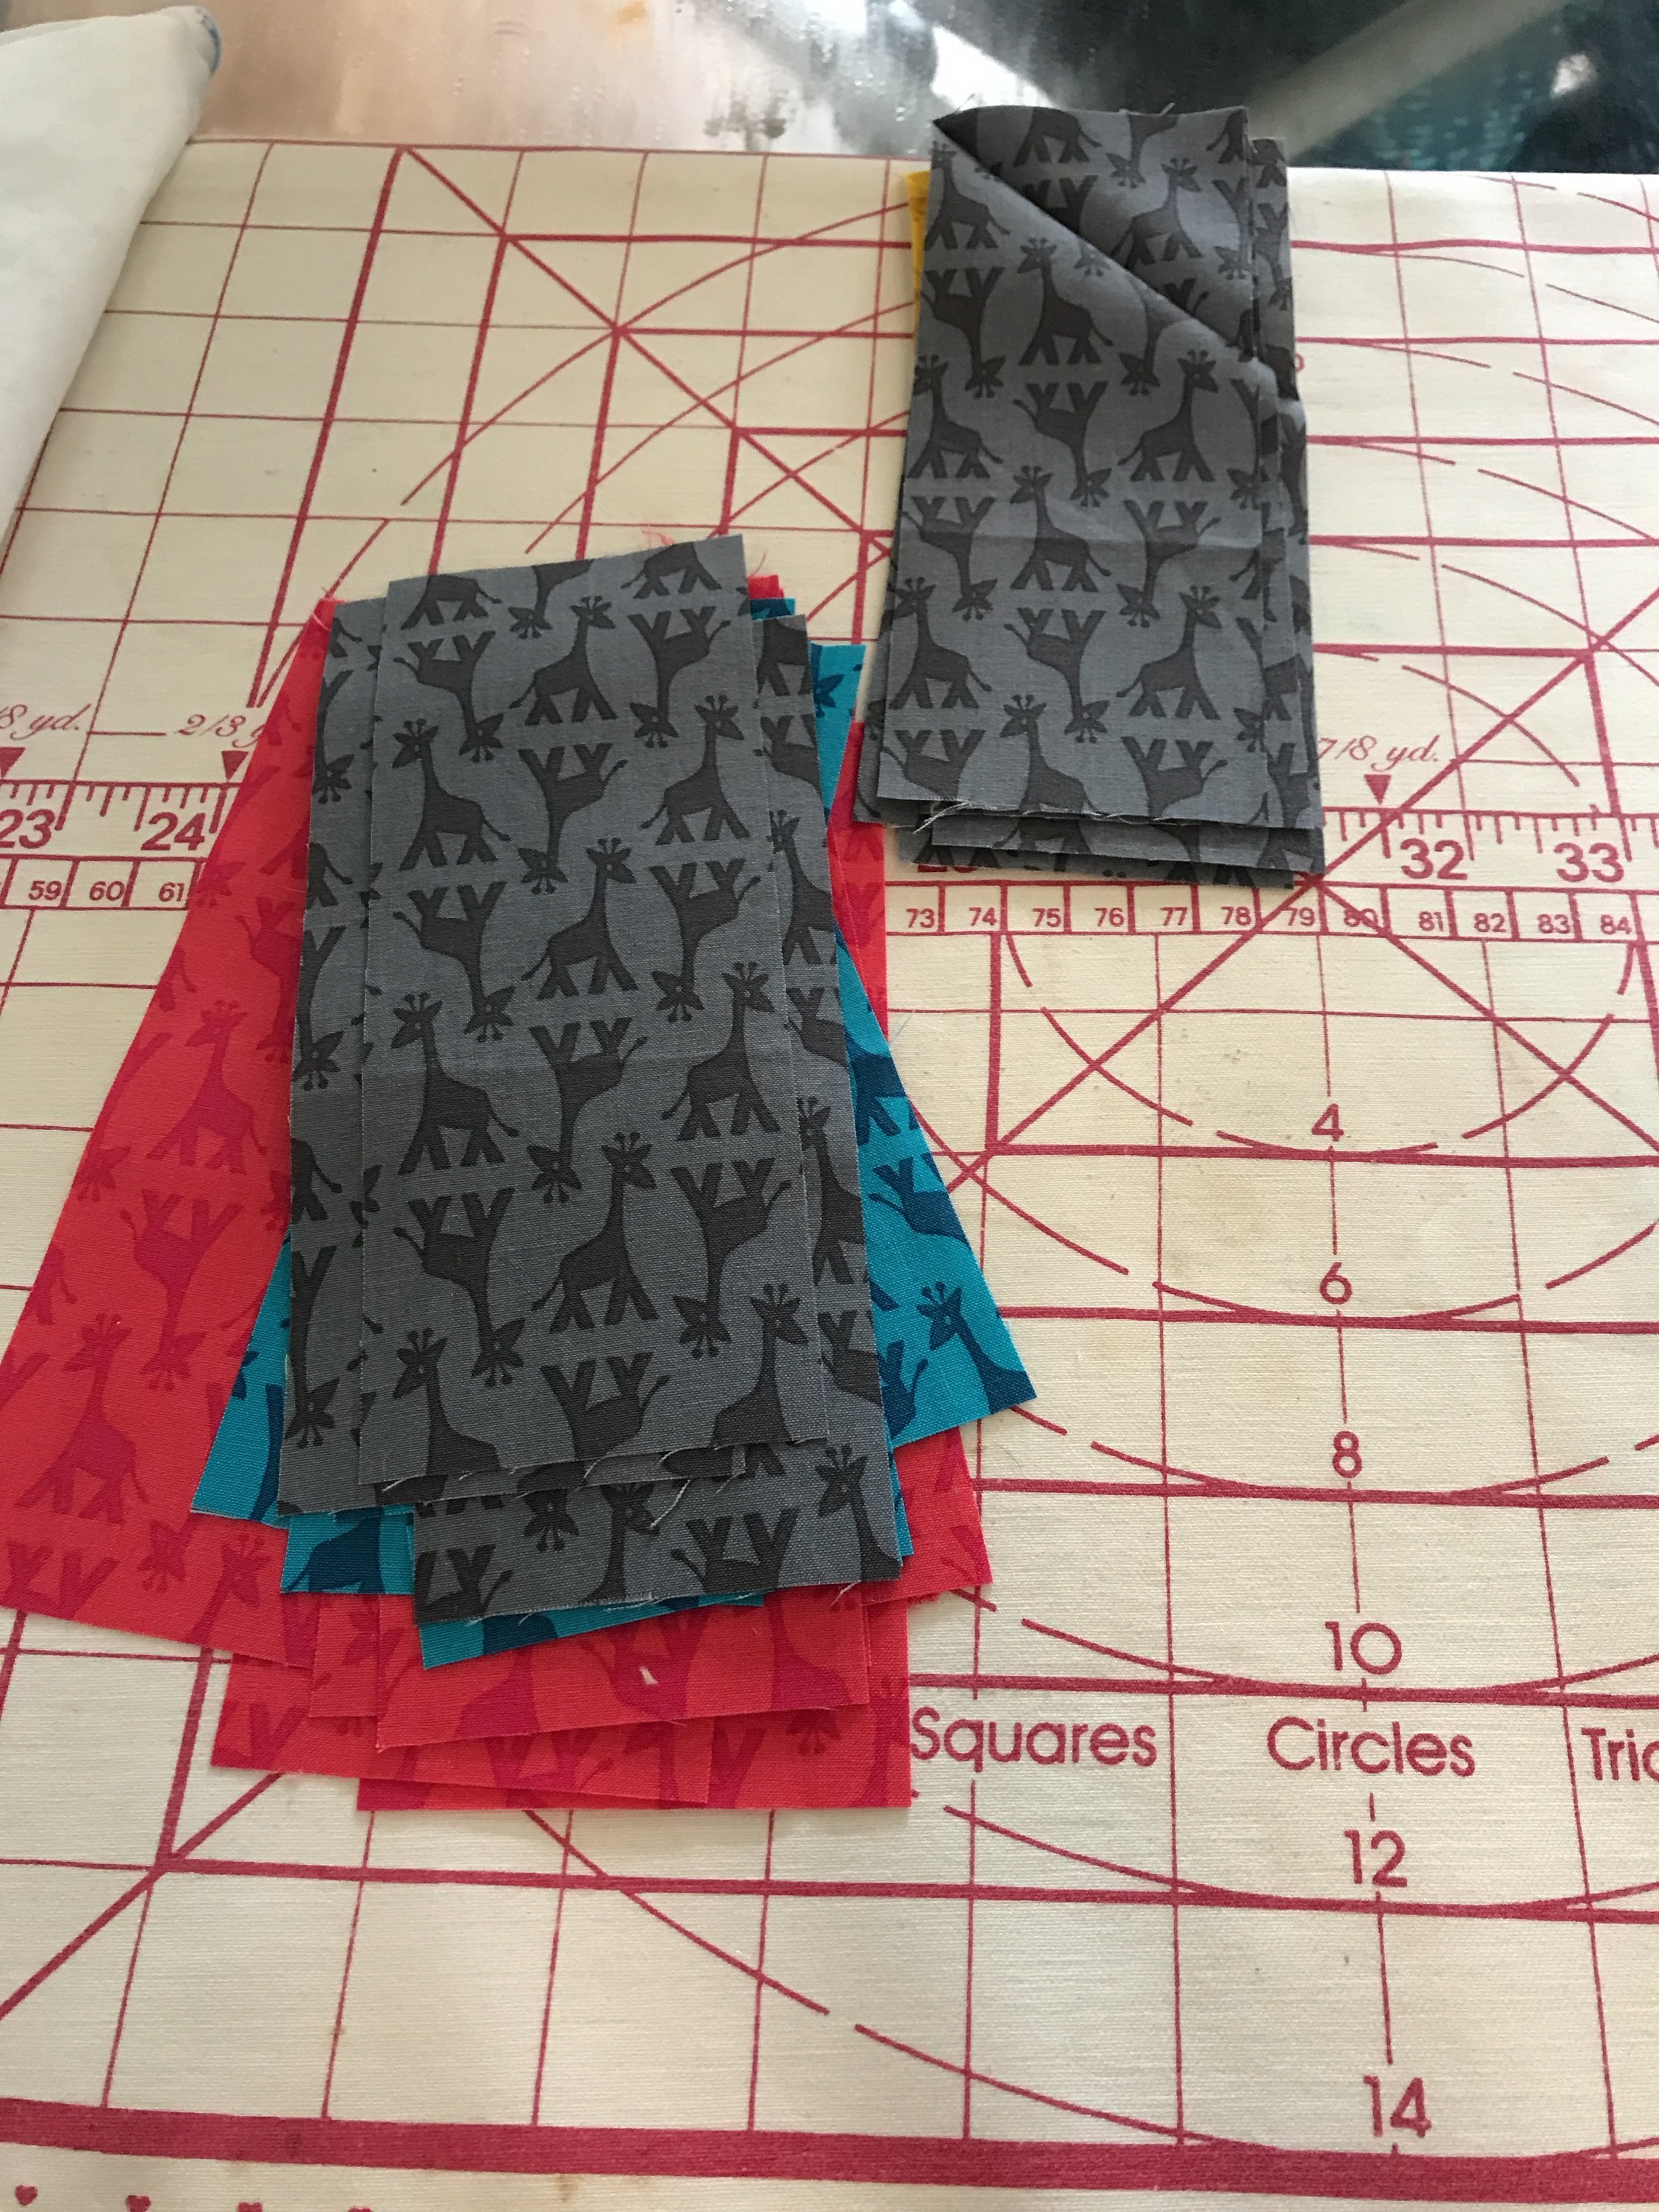
I used simple 2 1/2" strips (if I hadn't wanted to use existing scraps to keep costs low for the school, I could have purchased a new Jelly Roll to make this really quick and easy). I sashed between each art block and then put a border around the entire thing. The back is yellow minky (yellow is the "class color" for their cubbies and name tags so I thought the kids would like that). I made the binding from even more scraps.

The art blocks were a terribly awkward 7.875" wide by 6" high and the number of blocks was simply determined by the number of kids in the class so I'm not going to share exact measurements and yardage requirements for all the pieces of this quilt, but if you want to create your own, dimensions would be very easy to calculate with my Quilty Math Workbook.
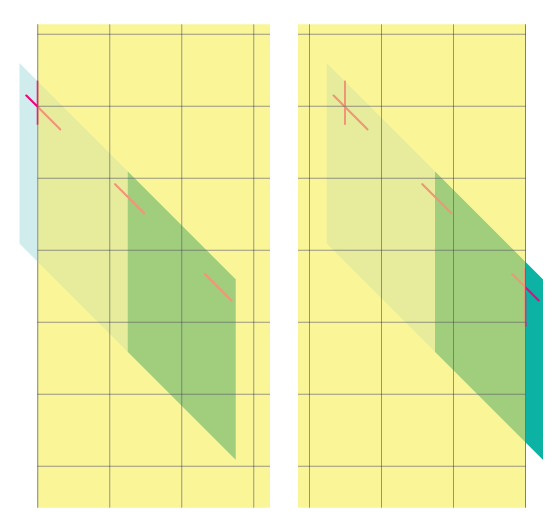
Half and Half Quilt Pattern + Block Gallery in a beautiful new 2nd edition

I am thrilled to announce that the Half and Half Quilt Pattern + eBook has been upgraded to become the Half and Half Quilt Pattern + Block Gallery.

It now features beautiful new photography and page layout by Page + Pixel. All of the text/content remains the same.

Half and Half Quilt Pattern + Block Gallery

If you have already purchased a PDF version of the pattern of the pattern from me, an updated version should be automatically pushed out to you within the next few days. Owners of the printed booklet now have a rare first edition -- if you would like an updated version, please forward your receipt to carrie@carrieactually.com and I can send you the PDF but because of printing and shipping costs I can't just send you a new booklet.

How to Match Diagonal Seams When Piecing Your Quilt

You will need

  • quilting ruler - my most used ruler is an OmniGrid 6x24
  • marking tool - my favorite is the Clover Chaco liner

1. Mark your seam allowance Along the edge you want to stitch

I like to take the total measurement of my piece and subtract 1/4" so that if my piece is not perfectly cut, excess is added to or subtracted from the seam allowance instead of my finished block. You could mark the entire stitching line but the end goal is to have 3 intersections so I only mark where my line would cross my existing seam and each end.

How to Match Diagonal Seams When Piecing Your Quilt | quilting, quilt, technique, skill builder, skill building

2. Rotate your piece and mark the ends

Make a mark 1/4" in from each end that intersects the marks you made for your stitching line.

How to Match Diagonal Seams When Piecing Your Quilt | quilting, quilt, technique, skill builder, skill building

3. Repeat on the opposite piece

You may want to make these marks on the wrong side of the fabric so that when you lay your pieces right sides together the marks are all on the sides facing up.

How to Match Diagonal Seams When Piecing Your Quilt | quilting, quilt, technique, skill builder, skill building

4. Layer your pieces right sides together and pin

Stick your pin straight through each of your intersections (use the diagonal seam in lieu of a second mark for your middle point).

A couple tips:

  • I find that if I stick my pin all the way through so that both layers of fabric are right up against the pin head, it works as a pivot point and helps get my fabrics lined up just right.
  • I start with the middle point first and then do the ends.
  • Depending on how wide your marks are, you may find it helpful to pin just to the inside or outside of your mark (this will depending on your exact measuring and marking technique).
How to Match Diagonal Seams When Piecing Your Quilt | quilting, quilt, technique, skill builder, skill building

5. Stitch and press

Stitch right along your marks (take your pins out as you go, don't stitch over them). Open up your piece and check that your seams line up to your satisfaction. Once it looks good, press your seam open. Your diagonal seams should line up perfectly. 

PIN THIS!

How to Match Diagonal Seams When Piecing Your Quilt | quilting, quilt, technique, skill builder, skill building